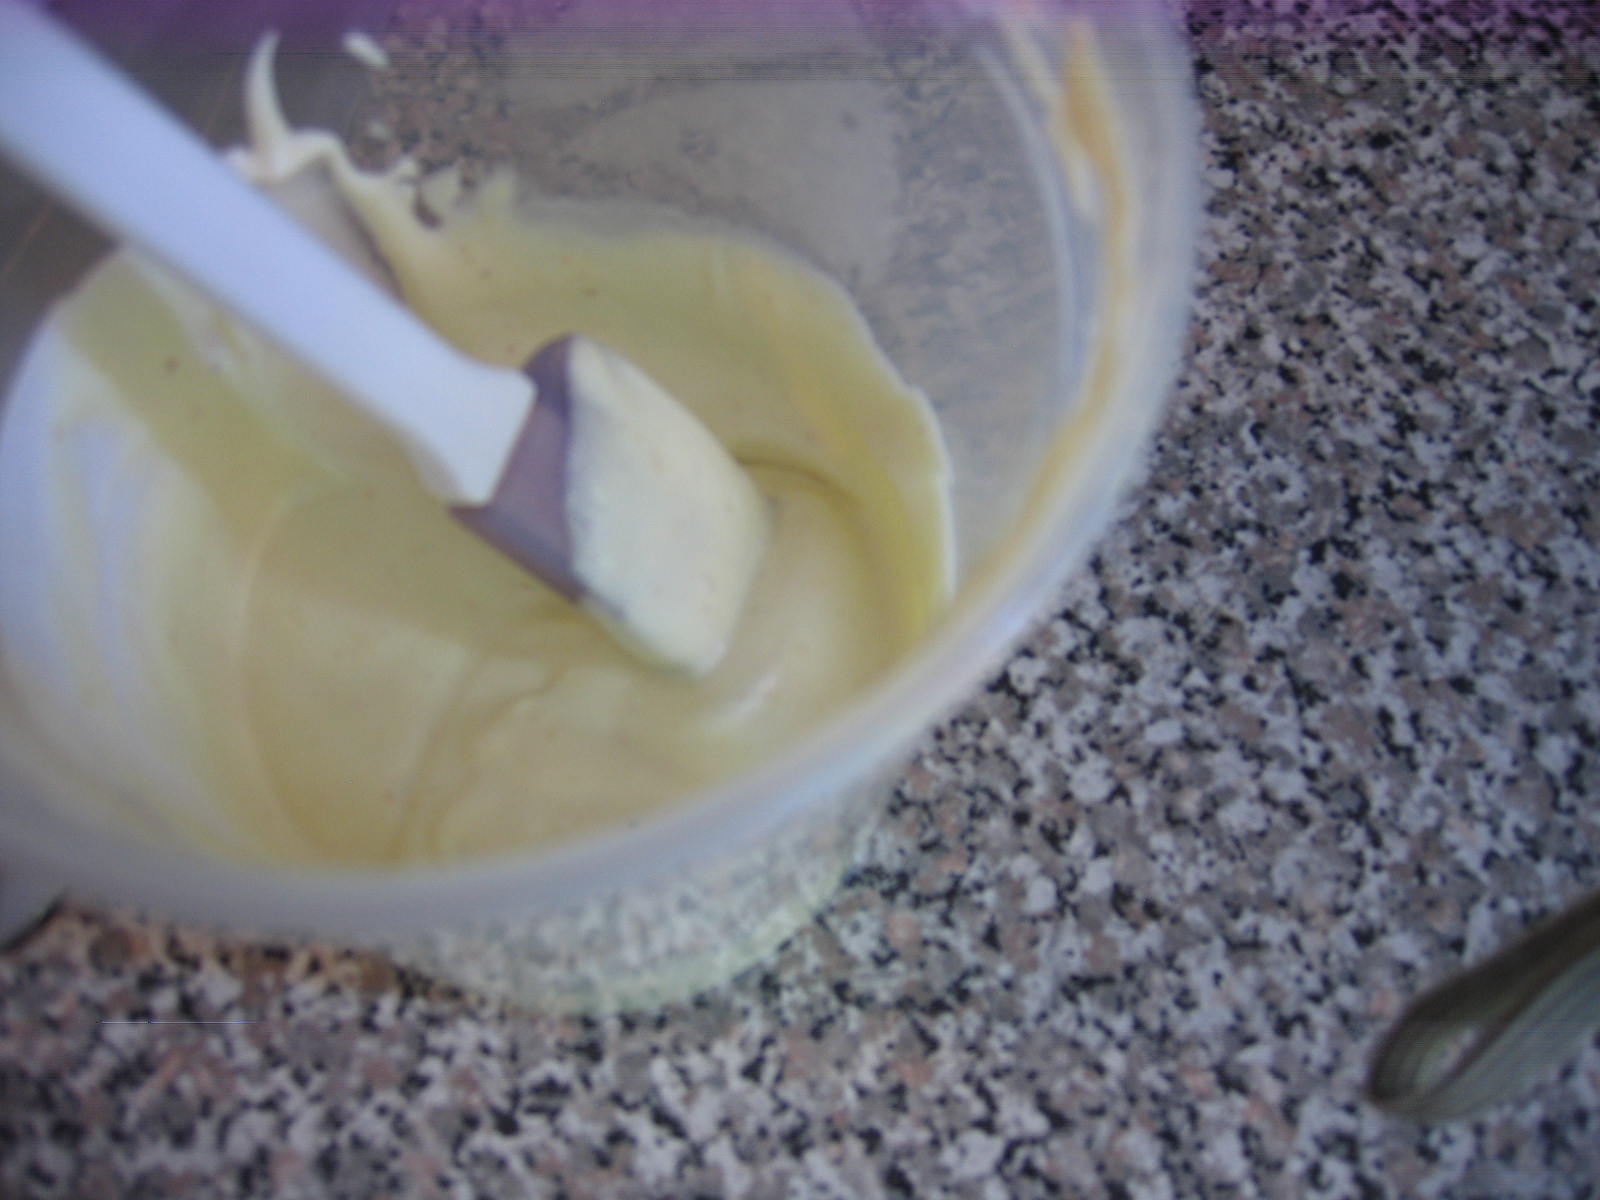
Homemade Mayo - adapted from Mark Bittman's "Basic Mayonnaise"
(makes about 1 cup)
1 egg
1/2 teaspoon Dijon mustard
2 tablespoons lemon juice (juice of 1 lemon)
grated zest of 1 lemon
1 cup grapeseed oil
pinch of cayenne
salt and white pepper
1. Put the egg, mustard, lemon juice and zest, and 1/4 cup of the oil into the bowl of a food processor and give it a whirl. While the machine is running, slowly drizzle in the remaining 3/4 cup of oil through the feed tube.
2. Season to taste and enjoy! Will keep in the fridge for a week.
And now, here's the first thing I decided to do with my melt-in-your-mouth mayo:
 Sandwich!!
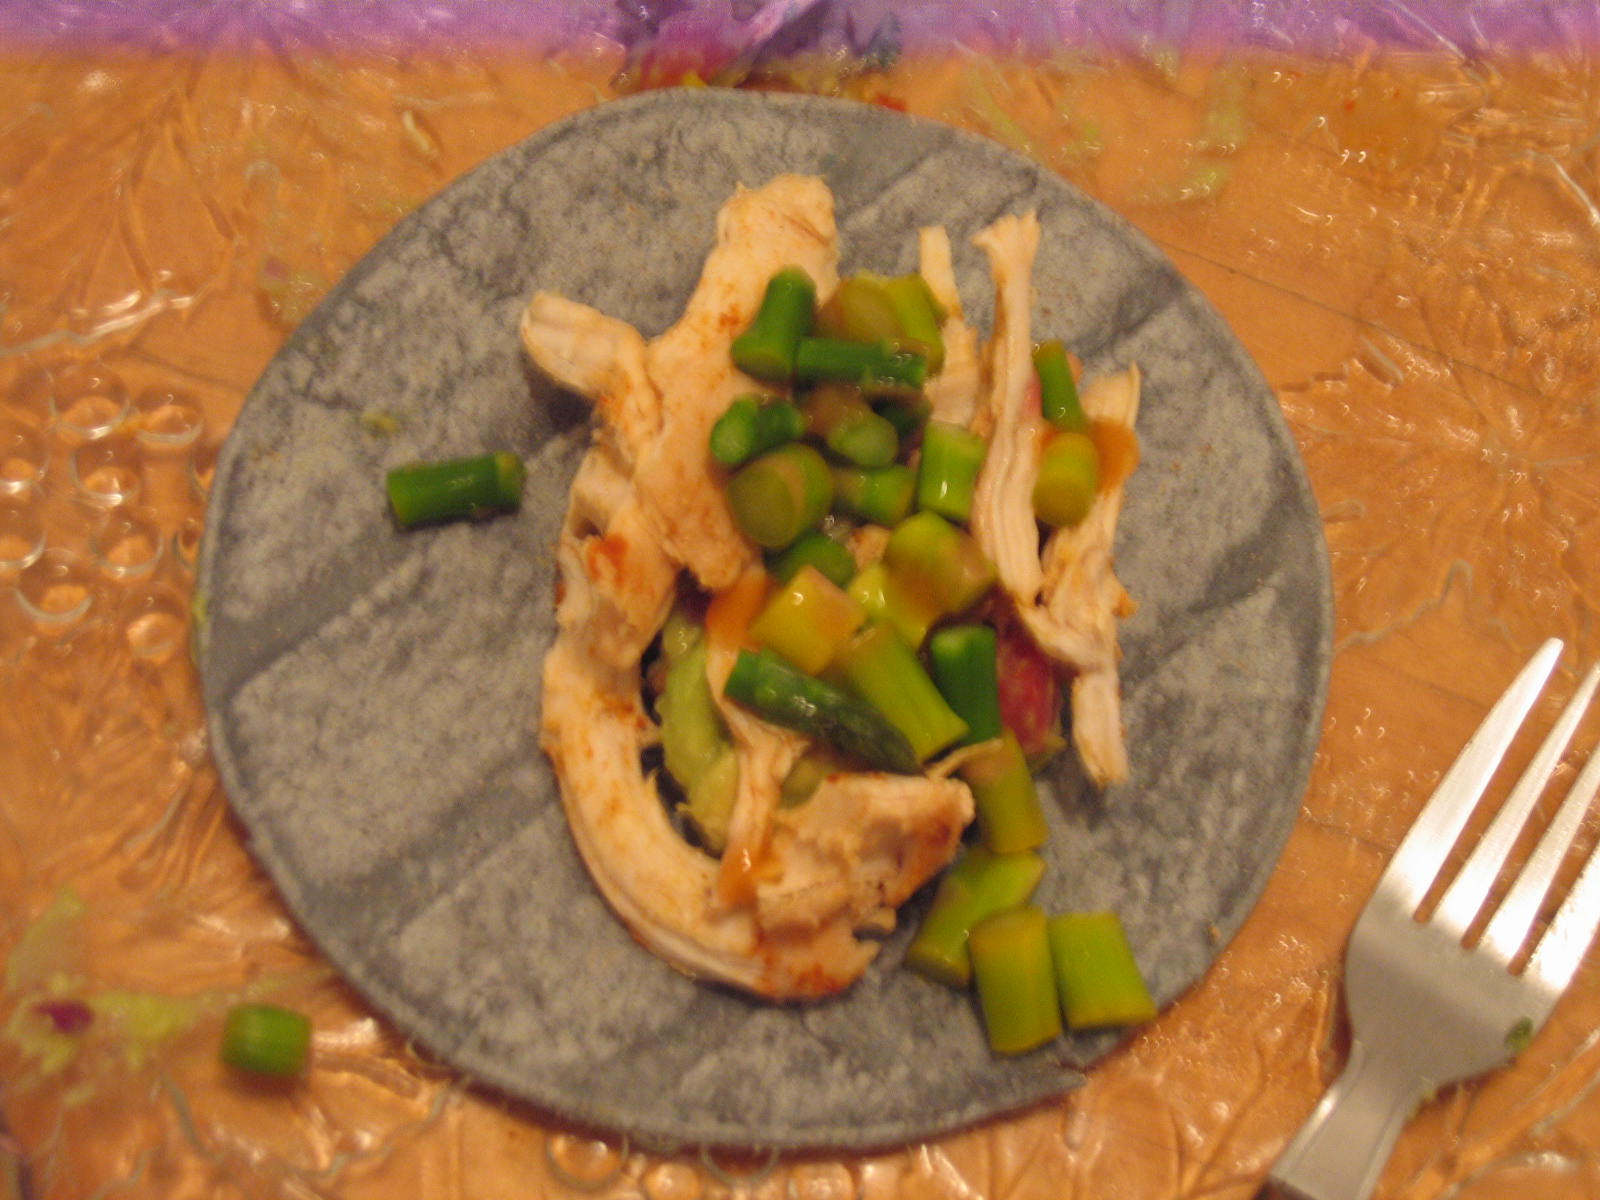
Tunafish Salad
(makes about 1 pound)
3 (5 oz.) cans white meat tuna
1 small red onion, finely chopped**
2 stalks celery, finely chopped
2 tablespoons homemade mayo (see above)
1 teaspoon paprika
1/2 teaspoon white pepper
1/2 teaspoon sumac (optional - found in most Middle Eastern groceries)salt to taste
1. Combine all ingredients in a large bowl, chill, and serve plain or on some toasted multigrain bread with crisp romaine lettuce. Yum!
** If you are as gadget-obsessed as I am, and you happen to have a mandoline slicer (see image below), I find the most painless way to really finely chop onions is to first slice them using my mandoline, and then chop the slices with a big chef knife. This makes light work of an unpleasant, and often tearful, task.

"What can I eat my mayo with today??" I ask plaintively, peering into the fridge at 10:30 A.M.