Showing posts with label sandwich. Show all posts

Sunday, March 11, 2012

Pulled BBQ Turkey

Well, it's finally happened: I have encountered something that the slow cooker can't do (besides wash and fold laundry, brush my teeth, etc.)  Behold exhibit A:

These big honkin' turkey dinosaur legs just wouldn't fit in my 3.5 quart cooker!  Soooo...a transfer was made:
...and it all worked out in the end.

Most excellent food-related wedding gift award goes to Betsy, for bestowing upon us this 10 gallon vat of Show Me BBQ sauce.  Essentially, a lifetime supply of deliciousness.
This stuff is The Best.  Makes everything taste better.  Probably even that potholder underneath the jug.  Yep.

Pulled BBQ Turkey Legs

2 tablespoons vegetable oil
2 turkey drumsticks (about 3.5 pounds)
salt and pepper
2 cups BBQ sauce
1 15.5-ounce can red kidney beans

Preheat the oven to 300 deg. F.  Heat the oil over high in a large skillet and season the turkey legs liberally with salt and pepper.  Sear the turkey on all sides, one at a time.

Pour half the BBQ sauce in the bottom of a large baking dish.  Transfer the browned turkey legs to the dish and top with the remaining 1 cup of BBQ sauce.  Cover tightly with foil and slow cook for 3 hours, until the meat is tender and pulling away from the bone.

Remove the drumsticks to a plate.  Once cool enough to handle, discard the skin, gristle and bones and shred the meat with your hands or two forks.  Return to the baking dish and mix well with the sauce.  Return to the oven for another 30 to 40 minutes, until the sauce thickens and coats the meat.

Drain and rinse the beans and toss in with the turkey and sauce.  Reheat for another 10 minutes until the beans are heated through.  Serve on toasted kaiser rolls with melted cheddar cheese, sliced pickles, and extra napkins.

Sunday, November 14, 2010

Sometimes you just feel like a veggie

You might think a cook would live a decadently delicious life full of daily home-cooked meals, but the truth is that the working chef survives on hastily prepared dishes like oatmeal, scrambled eggs, PB&J, and a thick stack of take-out menus.  Sad but true.
Given the busy week I had, I crashed into my Sunday off with a booming, resounding hunger for fruits and vegetables!  Holy guacamole!  So I hit up the vegetable aisle of my local grocery and came home to make the yummiest sandwich of all:

 Poised between two toasted slices of 7-grain bread - each properly slathered with Dijon mustard and butter, respectively - were slices of golden delicious apple, avocado, pepperjack cheese, radicchio, and red onion.

 
Whoa mama, this really hit the spot!

Friday, April 30, 2010

My mayo revolution

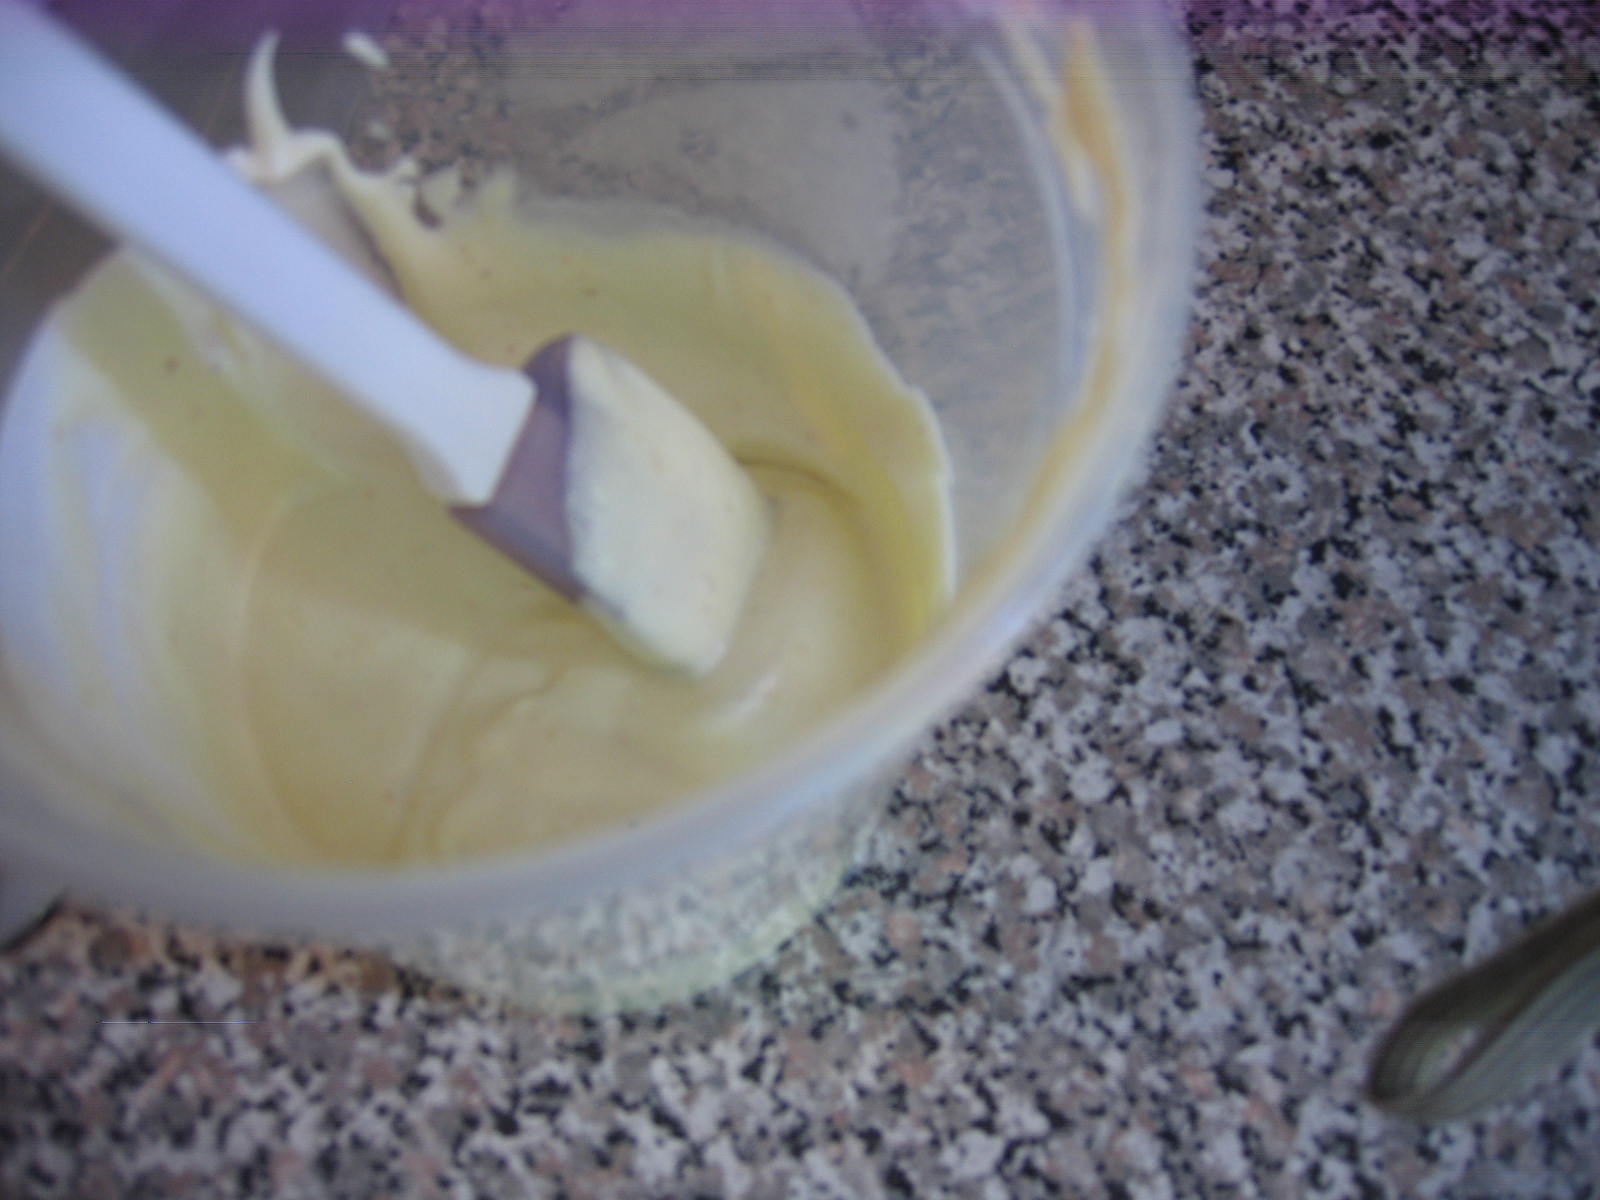
Folks, I say this with total sincerity: this is one of the most delicious things I've ever tasted. Light, lemon-laced, velvety, homemade mayo. And I don't even like mayonnaise! (At least not the stuff from a jar.) But this has changed everything for me. And, if you have a food processor at hand, it's very easy to make. Even if you don't, some people will swear that making mayonnaise by hand, with a whisk, produces the most perfect product. So it just might be worth it...

Homemade Mayo - adapted from Mark Bittman's "Basic Mayonnaise"
(makes about 1 cup)

1 egg
1/2 teaspoon Dijon mustard

2 tablespoons lemon juice (juice of 1 lemon)
grated zest of 1 lemon
1 cup grapeseed oil

pinch of cayenne
salt and white pepper

1. Put the egg, mustard, lemon juice and zest, and 1/4 cup of the oil into the bowl of a food processor and give it a whirl. While the machine is running, slowly drizzle in the remaining 3/4 cup of oil through the feed tube.

2. Season to taste and enjoy! Will keep in the fridge for a week.


And now, here's the first thing I decided to do with my melt-in-your-mouth mayo:

Sandwich!!

Tunafish Salad

(makes about 1 pound)

3 (5 oz.) cans white meat tuna
1 small red onion, finely chopped**
2 stalks celery, finely chopped
2 tablespoons homemade mayo (see above)
1 teaspoon paprika
1/2 teaspoon white pepper
1/2 teaspoon sumac (optional - found in most Middle Eastern groceries)salt to taste

1. Combine all ingredients in a large bowl, chill, and serve plain or on some toasted multigrain bread with crisp romaine lettuce. Yum!


** If you are as gadget-obsessed as I am, and you happen to have a mandoline slicer (see image below), I find the most painless way to really finely chop onions is to first slice them using my mandoline, and then chop the slices with a big chef knife. This makes light work of an unpleasant, and often tearful, task.


"What can I eat my mayo with today??" I ask plaintively, peering into the fridge at 10:30 A.M.

Tuesday, March 30, 2010

Glorious glutens

In the past, my bread-making attempts have been less than fruitful. I've turned out lumpy loaves, misshapen messes, and rock-hard ryes. But lately, having honed my dough skills as the Pizza Queen at work, my homegrown efforts are yielding some delectable results. If you have a food processor, this is the least messy bread you'll ever make. (No need to knead!)
If you don't, it's still worth a try - simply incorporate the ingredients by hand, on a well-floured surface, and be sure to keep kneading until the dough is smooth and springy.

Herbed Sandwich Bread
(makes one big honkin' loaf)

- 2 cups unbleached all-purpose flour
- 1-1/2 cups whole wheat flour
- 1/2 yellow onion, chopped
- 1 tablespoon dried rosemary, thyme, za'atar, or dried herb of choice
- 2 teaspoons salt
- 1-1/2 teaspoon instant (granulated) yeast
- 1 tablespoon honey
- 2 tablespoons olive oil, plus more for greasing bowl and pan
- 1-1/2 cups cool milk (or water)

1. Fit your food processor with the dough blade attachment. Add the flour, chopped onion, herb, salt, and yeast, and pulse a couple of times.
2. With the motor running, add the honey, olive oil, and milk slowly through the feed tube. Continue running the machine until a ball of dough forms around the blade, about 1 minute.
3. Remove the hunk of dough from the machine and shape into a sphere. Place in a large well-oiled bowl and cover with a kitchen towel or plastic wrap. Let rise at least 2 hours in a warm spot.
4. Deflate the risen dough and reshape into a ball. Let rest 15 minutes. Then, shape into a loaf and place on an oiled baking sheet (if you're going free-form) or in a large oiled loaf pan, cover with a towel, and allow to rise again for another hour.
5. Heat your oven to 375 degrees F. With a sharp paring knife, slash across the top of your loaf in a few evenly spaced horizontal lines. Brush the top of the loaf with water and bake for about 40 minutes, or until the loaf sounds hollow when you tap it. You can also test for doneness by taking a read of the internal temperature of the loaf; it should be about 160 degrees F.

If you want to do some experimenting, try substituting garlic for the onion and add chopped kalamata olives. Or go nuts! Walnuts and sunflower seeds would work nicely, maybe with some caraway seeds sprinkled on top.