Wednesday, May 12, 2010

Oh my goodness, Guinness!

It all started with my obsessing over the ice cream maker I stupidly left at my parents' apartment when I moved out last fall. Sure, it had been the end of ice cream season, but still, how could I have overlooked such a crucial culinary instrument? Thankfully, we were happily reunited this past weekend, and thus another cycle of frozen wondermaking began!
Part two of this creation myth: Ever since I sampled Mario Batali's overpriced, but inexorably delicious, Guinness ice cream ($8 for a cup?? Sheesh.) from Otto in Greenwich Village, I've been yammering about making my own variation. So finally, I did. And of course, it has dark chocolate. And it's frozen yogurt rather than gelato because Dan is lactose-intolerant and I'm something of a lactobacillus junkie.

But enough talk. Here's a taste:


Chocolate Stout Frozen Yogurt
(makes 5 cups)

1 vanilla bean or 2 teaspoons pure vanilla extract1-1/2 cups half-and-half
4 ounces unsweetened chocolate, chopped
1/2 cup sugar
4 egg yolks
12-oz. bottle Guinness Extra Stout
1 cinnamon stick (optional)
2 cups plain yogurt

1. If using the vanilla bean, split it in half and scrape out the seeds. Combine with the half-and-half, the chocolate, and half of the sugar in a saucepan, and heat while stirring until the chocolate is incorporated and steam rises (don't boil it). Remove from burner and set aside.

2. With a whisk or electric mixer, beat the rest of the sugar with the egg yolks until it thickens and becomes light yellow. Beat 1/2 cup of the half-and-half mixture into this, and then stir this back into the saucepan with the rest of the half-and-half mixture. Cook it over medium-low heat, stirring constantly, until the mixture is thickened slightly. (It should thickly coat the back of a spoon.)

3. Meanwhile,
boil the Guinness down in another saucepan with the cinnamon stick (if using) until about 1/4 cup remains. Remove cinnamon stick, pour into a mug or small bowl, and cool completely.

4. Strain the custard (that's the tempered egg and half-and-half mixture) into a glass bowl and cool to room temp. Stir in the reduced Guinness, the yogurt, and the vanilla extract, if you're using it.

5. Chill to 40 degrees, or for about 2 hours in the fridge, then churn in an ice cream maker for 30 minutes, or until it's reached the desired thickness. Serve immediately or store in the freezer -- if you do this, you'll have to "thaw" it in the fridge for a half and hour before serving.

** If you don't yet have one of these awesome ice cream makers, I would recommend getting the Cuisinart 1-1/2 Quart model, found here on Amazon. You won't regret it! Ok, that concludes the sales pitch :)

Friday, April 30, 2010

My mayo revolution

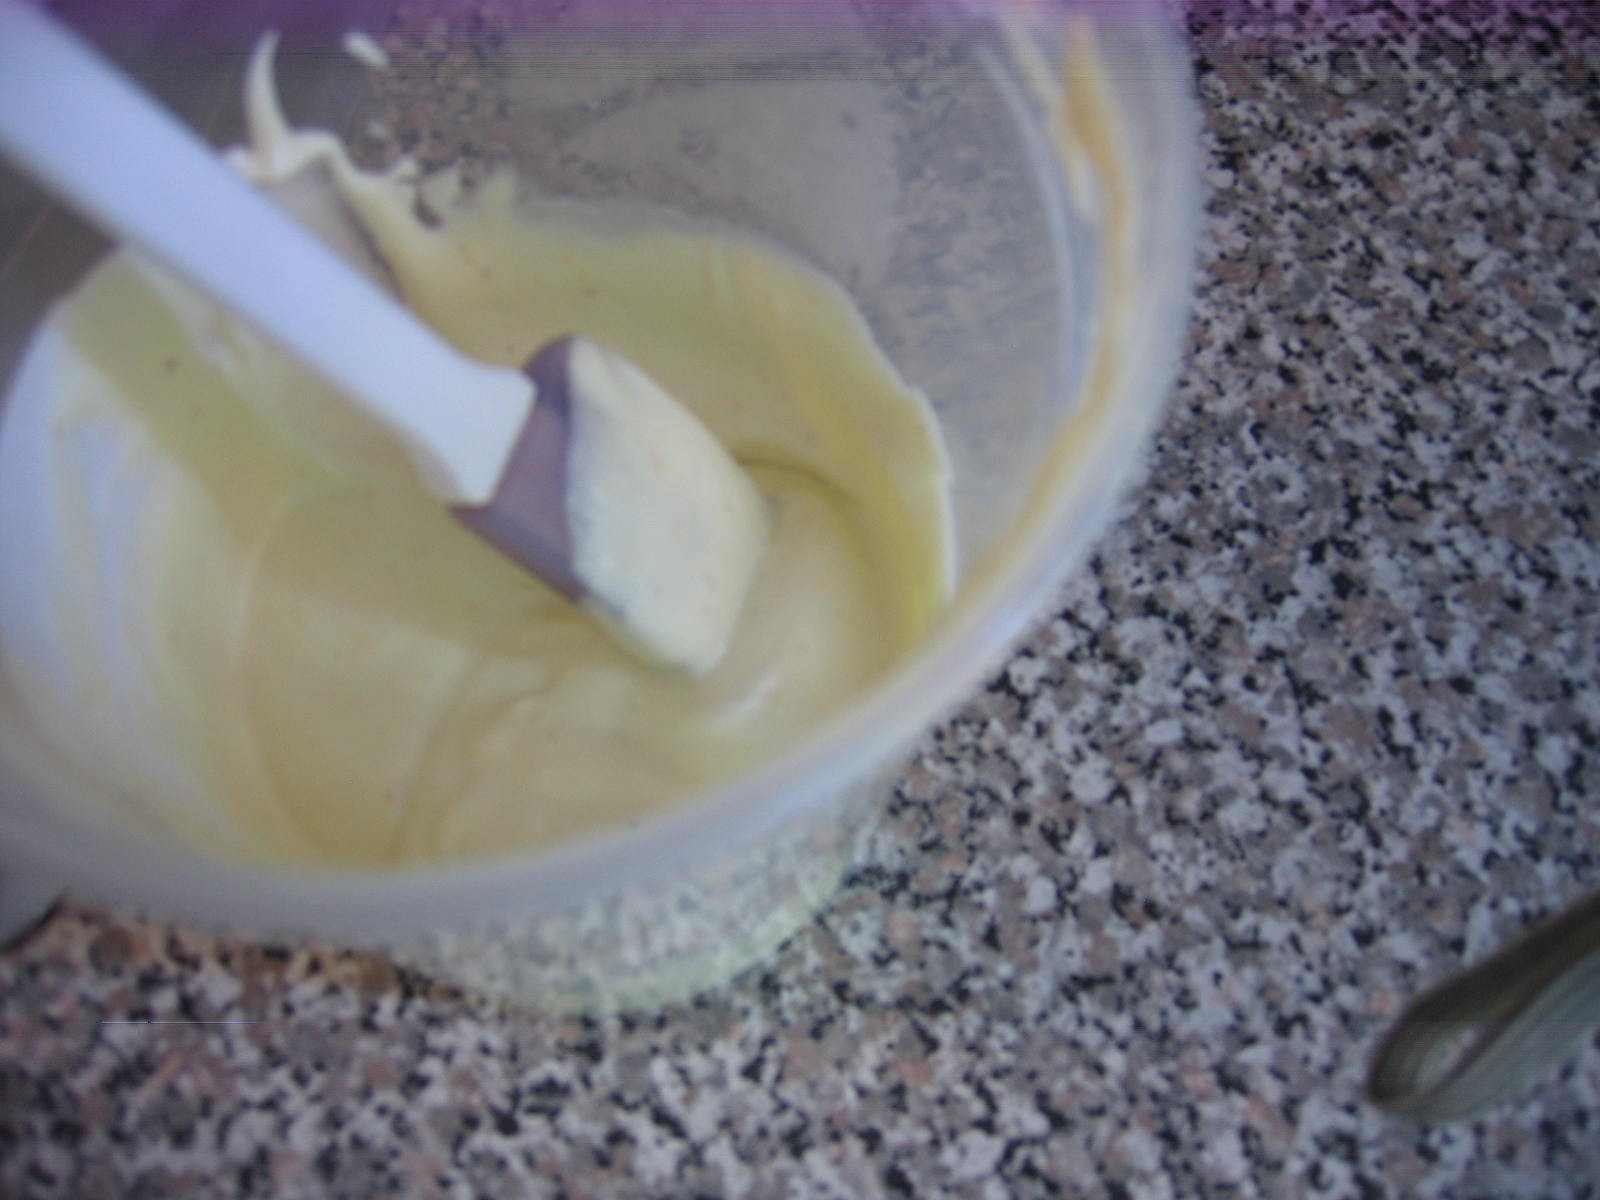
Folks, I say this with total sincerity: this is one of the most delicious things I've ever tasted. Light, lemon-laced, velvety, homemade mayo. And I don't even like mayonnaise! (At least not the stuff from a jar.) But this has changed everything for me. And, if you have a food processor at hand, it's very easy to make. Even if you don't, some people will swear that making mayonnaise by hand, with a whisk, produces the most perfect product. So it just might be worth it...

Homemade Mayo - adapted from Mark Bittman's "Basic Mayonnaise"
(makes about 1 cup)

1 egg
1/2 teaspoon Dijon mustard

2 tablespoons lemon juice (juice of 1 lemon)
grated zest of 1 lemon
1 cup grapeseed oil

pinch of cayenne
salt and white pepper

1. Put the egg, mustard, lemon juice and zest, and 1/4 cup of the oil into the bowl of a food processor and give it a whirl. While the machine is running, slowly drizzle in the remaining 3/4 cup of oil through the feed tube.

2. Season to taste and enjoy! Will keep in the fridge for a week.


And now, here's the first thing I decided to do with my melt-in-your-mouth mayo:

Sandwich!!

Tunafish Salad

(makes about 1 pound)

3 (5 oz.) cans white meat tuna
1 small red onion, finely chopped**
2 stalks celery, finely chopped
2 tablespoons homemade mayo (see above)
1 teaspoon paprika
1/2 teaspoon white pepper
1/2 teaspoon sumac (optional - found in most Middle Eastern groceries)salt to taste

1. Combine all ingredients in a large bowl, chill, and serve plain or on some toasted multigrain bread with crisp romaine lettuce. Yum!


** If you are as gadget-obsessed as I am, and you happen to have a mandoline slicer (see image below), I find the most painless way to really finely chop onions is to first slice them using my mandoline, and then chop the slices with a big chef knife. This makes light work of an unpleasant, and often tearful, task.


"What can I eat my mayo with today??" I ask plaintively, peering into the fridge at 10:30 A.M.

Tuesday, April 27, 2010

True Blue Cornbread

Since buying my cast-iron skillet, I've really only used it for one purpose: to make skillet cornbread. The skillet conducts heat extremely well, and totally evenly, so that the cornbread gets a lovely crust on the bottom, in addition to that characteristic golden top. And while we're on the topic of coloring, I should mention that the following cornbread is entirely blue, through and through! I not only used blue cornmeal, which I find just really pleasing in a cartoon-ish way, but I also added some frozen blueberries because of the extra punch of flavor and moisture they contribute to the cornbread. This stuff is really good, and quite easy to put together. Try it with a dollop of sour cream on top!


Blue Skillet Cornbread

Note: If you don't have a cast-iron skillet, not to worry; you can use any other baking dish on hand, or even make this into muffins!

2 tablespoons coconut oil (or other oil, butter, or lard)

1-1/2 cup coarse blue cornmeal
1/2 cup unbleached all-purpose flour
1/4 cup sugar (or honey or molasses)
1-1/2 teaspoon baking powder
1 teaspoon salt

3/4 cup milk
1/2 cup plain yogurt
2 eggs

1/2 cup frozen blueberries

1. Preheat oven to 375 degrees F. Put the coconut oil (or fat of your choosing) into the skillet (or other baking vessel) and put into the oven to warm up while you make the batter.

2. In a large bowl, mix the dry ingredients. Mix the wet ingredients in a separate bowl and fold into the dry ingredients, mixing until just combined.

3. Add the blueberries last, and pour the batter into the skillet. Bake for about 30 minutes, until the top is slightly golden and a toothpick passed through the center of the cornbread comes out totally clean.

Thursday, April 22, 2010

Asparagus salad (and Dan makes dinner!)

Last weekend, I walked into the apartment after a long day of working brunch to find that Dan was preparing a fantabulous dinner of grilled lamb chops with a minted cucumber-yogurt coulis! Wow! The food was delicious. And for once, I got to take the backseat. (Unfortunately, we were both so excited that I forgot to take a picture to show off.)

My only contribution was a simple salad of more of that lovely spring asparagus.


Warm Asparagus Vinaigrette
(serves 3-4 as a side)

- 1 bunch asparagus, blanched and cut on the bias into 1-inch pieces
- 1/2 red onion, sliced thin
- 1/2 cup mint leaves, torn or chiffonaded

- 2 garlic cloves, smashed and chopped
- 2 teaspoons dijon mustard
- 1/3 cup red wine vinegar
- 1 cup olive oil
- salt and white pepper to taste

To prepare, simply toss the first three ingredients together, and make the vinaigrette with the remaining ingredients, whisking in the olive oil last. Season with the salt and white pepper and enjoy while the asparagus is still warm from blanching.


Friday, April 9, 2010

Spring is here!

And this means the asparagus has sprung!

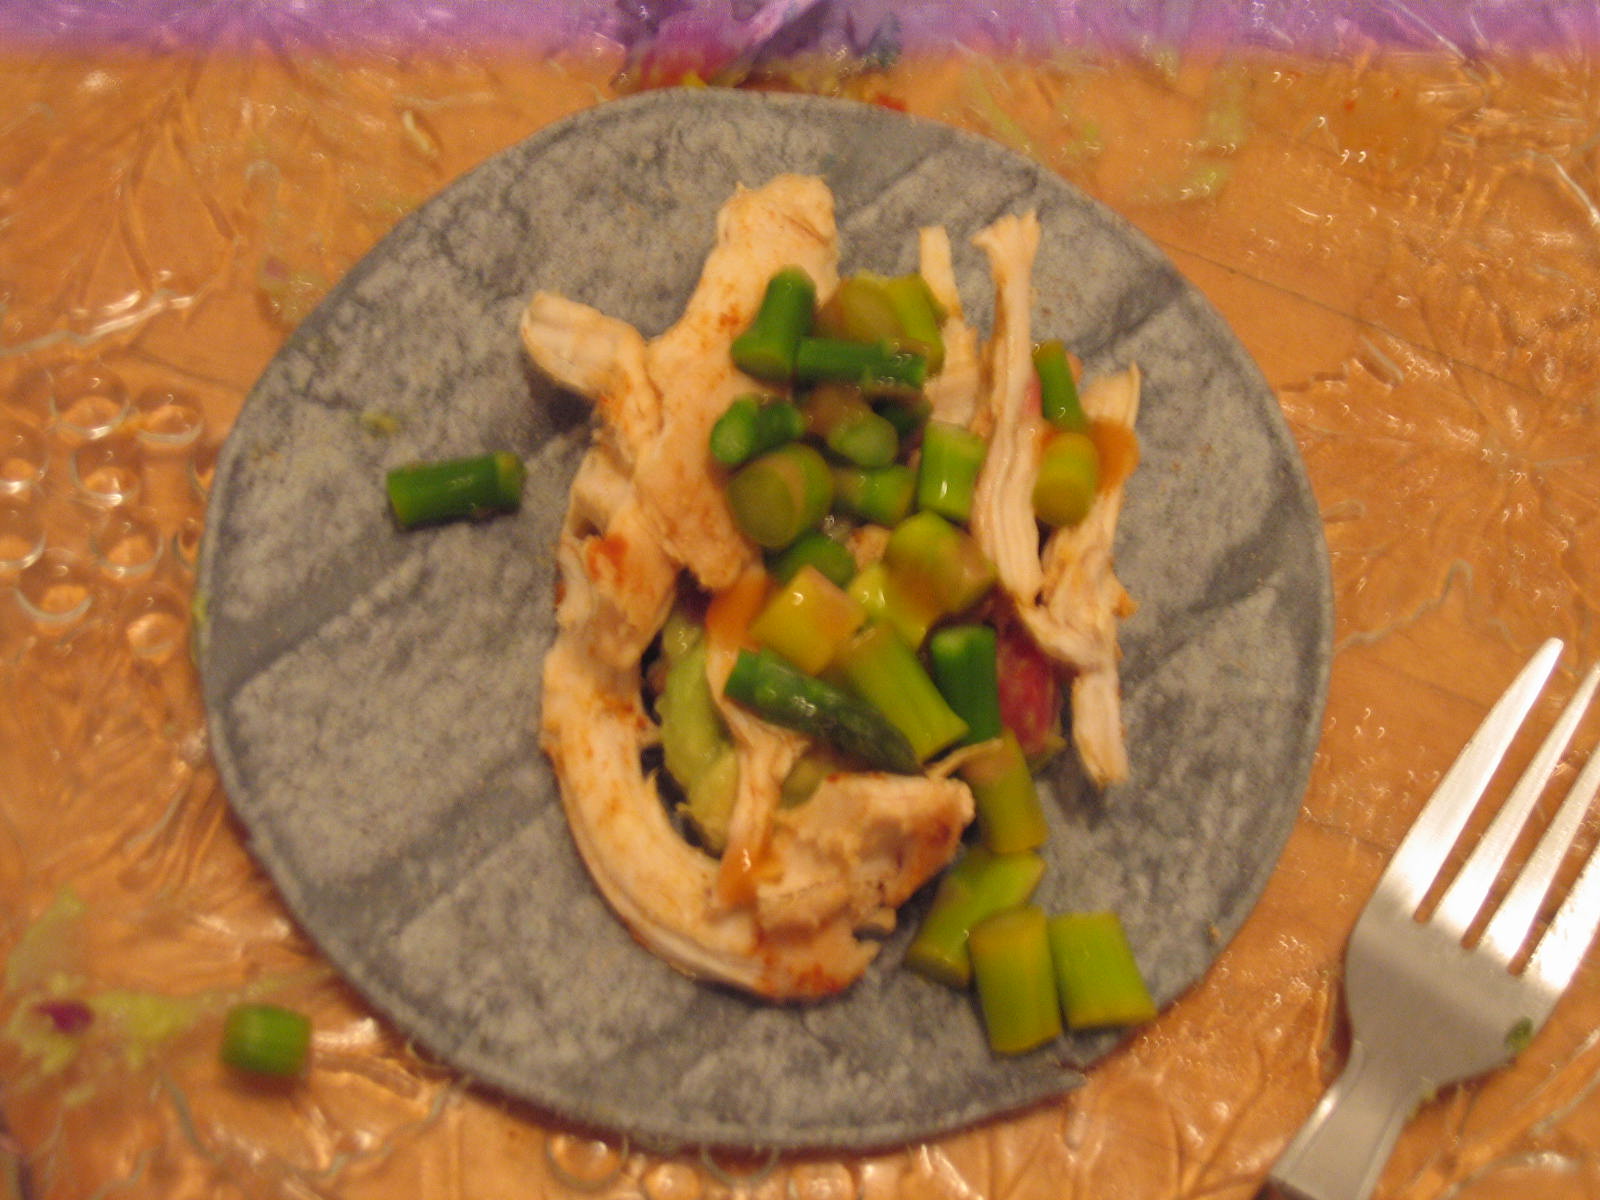
Walking home from work yesterday, I spotted a sweet deal at my local green grocer: huge bunches of beautiful pencil asparagus for just $1 each! (Oh Astoria, how I love thee.) At the same time, my stomach was calling for tacos. Now, you might scoff at the idea of tacos with asparagus, but at that moment a lightbulb of craving went off in my brain (or my gut?), and a slightly crazy idea was born. The resulting repast? Shredded chicken tacos with crunchy asparagus and guacamole. Easy and very rich in vitamin S! (that's for Spring, silly.)
Pulled Chicken Tacos with Asparagus and Guacamole
(serves 3-4)

Ingredients:
- 2 lbs. boneless skinless chicken breasts
- 2 tablespoons olive oil
- 2 teaspoons salt
- 1 teaspoon cumin
- 1 tablespoon paprika
- 1 bunch pencil asparagus (about 1 pound)

- 3 ripe avocados, halved and pitted
- 1 medium red onion, chopped small
- 1 jalapeno pepper, deseeded and minced
- 2 plum tomatoes, cored and diced
- juice of 2 lemons- 1/2 cup cilantro leaves
- salt to taste

To serve:
- corn tortillas (I used blue corn - very aesthetically pleasing)
- sour cream
- Mexican beer with lime

Procedure:
1. Preheat oven to 350 deg. F. Rinse and pat dry the chicken breasts and place in a medium baking dish. Coat with olive oil and sprinkle evenly with salt, cumin, and paprika. Bake for 45-60 minutes, until the inside is not pink, or an instant-read thermometer reads 165 degrees.

2. Meanwhile, salt a large pot of water and bring to a boil. Rinse asparagus and cut off the toughest part of the stem, at the very bottom. Chop the remaining asparagus stalks into half-inch segments and drop into boiling water for a minute only (you want the asparagus bright green, not yellow-brown and overcooked). Drain quickly and shock with cold water immediately to stop the cooking. Set aside.

3. Now go ahead and make your guacamole: Scoop the avocado out into a large bowl and break up roughly with a wooden spoon. Add the onion, jalapeno, tomato, lemon juice, cilantro, and season to taste with salt. Mix well and set aside.

4. When chicken is fully cooked, remove from baking dish and allow to cool completely. Then, using your fingers, shred the chicken into small, taco-appropriate pieces.

5. Finally, in a hot, dry skillet, warm your tortillas - about 1 minute per side - and keep warm by wrapping in a clean kitchen towel until ready to serve.

6. To serve, pile some chicken, guacamole, crunchy asparagus, and sour cream on a warm tortilla, roll up, and enjoy with your favorite Mexican beer!

Tuesday, March 30, 2010

Glorious glutens

In the past, my bread-making attempts have been less than fruitful. I've turned out lumpy loaves, misshapen messes, and rock-hard ryes. But lately, having honed my dough skills as the Pizza Queen at work, my homegrown efforts are yielding some delectable results. If you have a food processor, this is the least messy bread you'll ever make. (No need to knead!)
If you don't, it's still worth a try - simply incorporate the ingredients by hand, on a well-floured surface, and be sure to keep kneading until the dough is smooth and springy.

Herbed Sandwich Bread
(makes one big honkin' loaf)

- 2 cups unbleached all-purpose flour
- 1-1/2 cups whole wheat flour
- 1/2 yellow onion, chopped
- 1 tablespoon dried rosemary, thyme, za'atar, or dried herb of choice
- 2 teaspoons salt
- 1-1/2 teaspoon instant (granulated) yeast
- 1 tablespoon honey
- 2 tablespoons olive oil, plus more for greasing bowl and pan
- 1-1/2 cups cool milk (or water)

1. Fit your food processor with the dough blade attachment. Add the flour, chopped onion, herb, salt, and yeast, and pulse a couple of times.
2. With the motor running, add the honey, olive oil, and milk slowly through the feed tube. Continue running the machine until a ball of dough forms around the blade, about 1 minute.
3. Remove the hunk of dough from the machine and shape into a sphere. Place in a large well-oiled bowl and cover with a kitchen towel or plastic wrap. Let rise at least 2 hours in a warm spot.
4. Deflate the risen dough and reshape into a ball. Let rest 15 minutes. Then, shape into a loaf and place on an oiled baking sheet (if you're going free-form) or in a large oiled loaf pan, cover with a towel, and allow to rise again for another hour.
5. Heat your oven to 375 degrees F. With a sharp paring knife, slash across the top of your loaf in a few evenly spaced horizontal lines. Brush the top of the loaf with water and bake for about 40 minutes, or until the loaf sounds hollow when you tap it. You can also test for doneness by taking a read of the internal temperature of the loaf; it should be about 160 degrees F.

If you want to do some experimenting, try substituting garlic for the onion and add chopped kalamata olives. Or go nuts! Walnuts and sunflower seeds would work nicely, maybe with some caraway seeds sprinkled on top.

Thursday, March 18, 2010

Chicken pizza?!!

Yes, folks, you read that right: Chicken pizza. Or, really, chicken lamejun. Lamejun is a flatbread made in Armenia and Turkey that is typically topped with ground lamb, onion, and spices chopped finely into a paste. This non-traditional version, again taken from Ana Sortun's "Spice," is a wonderful adaptation. Imagine an aromatic chicken meatball spread all over a thin piece of bread (called lavash). Having just acquired an 11-cup Cuisinart food processor (thanks, Mom!), I thought I would take it for a test drive with this simple recipe:

Chicken Lamejun with Roasted Red Peppers, Pistachios, and Za'atar
(makes 4 large lamejun)

1 pound boneless, skinless chicken breasts
1 small Spanish onion, peeled and finely chopped
3 scallions, trimmed and minced
1 teaspoon za'atar (see previous post)
1 teaspoon salt
1 egg white
1/4 cup milk
1 cup toasted and ground pistachios
4 rectangular pieces of lavash
1 tablespoon olive oil
2 roasted red peppers, deseeded, skinned, and sliced into strips
Homemade labneh (see previous post) for serving

1. Trim chicken breasts of any cartilage or fat and cut into 1- to 2-inch cubes.
2. Grind the chicken in a food processor until you get a smooth paste, for about 1 minute.
3. Use the pulse button to add in the onion and scallions, za'atar, salt, and egg white.
4. Remove the mixture to a small bowl, and stir in the milk and pistachios.
5. Preheat your oven to 375 degrees F.
6. Spread a thin, even layer of the chicken mixture onto each lavash, all the way to the edges.
7. Put the lamejuns on a baking sheet or a pizza stone (or even in a baking dish that is too small, so the ends hang over the sides - you'll end up with a bowl-shaped lamejun!) and bake for about 15 minutes, until the lavash is crisp and the chicken mixture is totally cooked (it should be completely firm).
8. Serve each lamejun with a few red pepper strips and a dollop of labneh cheese.


Dan enjoyed his lamejun!


Tuesday, March 16, 2010

My new super-snack

This might not be what you typically reach for when you're feeling peckish, but my new go-to is warm whole-wheat pita with homemade labneh and za'atar. It's delicious and healthy. This new dish was inspired by yet another wonderful addition to my cookbook collection: "Secrets of Cooking," a collection of Armenian/Lebanese/Persian recipes by Linda Chirinian. The book came wrapped in brown paper, with a NYC return address label that showed the headquarters of the AGBU (the Armenian General Benevolent Union) - for some, a mysterious benefactor, but I knew right away that this was a gift from my Aunt Viviane in Paris, who presides over the AGBU (in French it's "UGAB") in the City of Love. Big batchigs to you, Viviane!

Now, onto the definitions: Labneh is a yogurt cheese, made by straining plain yogurt, mixed with a bit of salt, through a sieve lined with cheesecloth for up to 12 hours. Imagine Greek yogurt, but even better. It is tart, creamy, and spreadable.

Za'atar
is a word that refers both to a family of Middle Eastern herbs, closely related to thyme and oregano, as well as to a spice mixture that is a blend of sumac, toasted sesame seeds, the green herb itself (whichever variety you go with), and sea salt. I mixed a variation on what I found in the cookbook and on various websites:


1/4 cup sumac
2 tablespoons dried thyme
2 tablespoons dried oregano
2 tablespoons toasted sesame seeds
1 teaspoon sea salt


Simply toast the sesame seeds lightly in a dry skillet, then grind them gently, either in a food processor or with a mortar and pestle (my preference). Then mix in the remaining ingredients and Voila! you have homemade za'atar.

To enjoy these two creations together, spoon some labneh into a bowl, drizzle with extra-virgin olive oil, and sprinkle generously with za'atar and more sea salt to taste.


Happy dipping!

Tuesday, March 9, 2010

My homemade (un) sun-dried tomatoes

I've been experimenting with (among other things) using my gas oven as a dehydrator. I've dried herbs, garlic and now: tomatoes. Dan is a big fan of sun-dried tomatoes, so I figured, why spend the extra moolah buying those fancy, non-eco-friendly, imported sun-dried tomatoes when I can make my own at home?! Granted, they're not exactly sun dried (although it looks like the sunshine is returning again to New York, yippee!!), but they're virtually the same. To make them, I simply core and vertically slice plum tomatoes (they're less juicy, more meaty - better than the beefsteak tomatoes for drying), lay them out on a baking sheet, and put them in the oven overnight, until they're all wrinkled up and leathery. You don't even need to turn the oven on - just trust in the steady low heat of the oven pilot to do the job right.

Here are my oven-dried tomatoes, packed into a jar with some extra virgin olive oil to cover.
Packaged this way, they should keep for months in the fridge. And if I weren't so tired of kitchen appliances, I would use the nifty canning kit that Paul got me for Christmas (thanks, bro!) and make 'em last forever. However, considering I live with a jiu-jitsu trained eating-machine, I needn't worry about these sweet snacks going sour :)

Wednesday, March 3, 2010

A condiment occasion

One would think my full-time job as a cook might slow my pace of home-cooking, but not so, sir! Yesterday I spent exactly the entire day in the kitchen, made two new spice blends (a fish spice and some Ras El-Hanout), used the latter to make homemade harissa, made a pickled red onion condiment, and also whipped up some parsley butter with loads of garlic. Also, I oven-dried some tomatoes to use in my harissa. Here's the aerial view:


You may be asking yourself, what's this harissa stuff? Well, it's a sauce typically used in North African (ie. Moroccan, Algerian, Tunisian) kitchens for many purposes, such as flavoring meats, brightening soups, mixing into cous-cous, etc. The uses are rather infinite because it's so damn tasty. The number of recipes for harissa are just about as infinite, but mine is a blend of the following (makes about 1 cup):


1/2 cup ground hot red chilis
1 teaspoon chopped garlic
1/4 cup sun-dried tomatoes (I used my oven-dried ones)
2 teaspoons kosher salt
1/2 cup water
2 teaspoons Ras el Hanout **
2 tablespoons olive oil

Note: you'll want to strain this blend through a fine-mesh sieve before serving to extract all the chili pepper skins and seeds.

** Ras el Hanout translates from Moroccan Arabic to "head of the shop" and refers to a spice mixture comprised of the best products the shop owner has to offer. So, again, many different variations on this tune. Mine has cumin, saffron, cinnamon, turmeric, ginger, black pepper, and loads of medium-hot paprika.

After I had played mad-scientist with my spices for long enough, I made a simple dinner of grilled steak strips placed on pita bread to showcase my new repertoire of condiments: the still hot steak got a slight schmear of parsley butter, then a pile of pickled onions, then a drizzle of my extra hot harissa.

Accompanying the main was a salad of thinly-sliced fennel bulbs, sectioned oranges, and baby greens, seasoned simply with olive oil, salt and pepper, and a light sprinkling of chopped parsley.


Oh, and there was plenty of vino! Dan contributed a shiraz, and Steph a syrah - both totally hit the bulls-eye of appropriate meat-pairing wines. And both were mercilessly drained by the end of the evening!