Saturday, April 16, 2011

Spicy spin on an old favorite

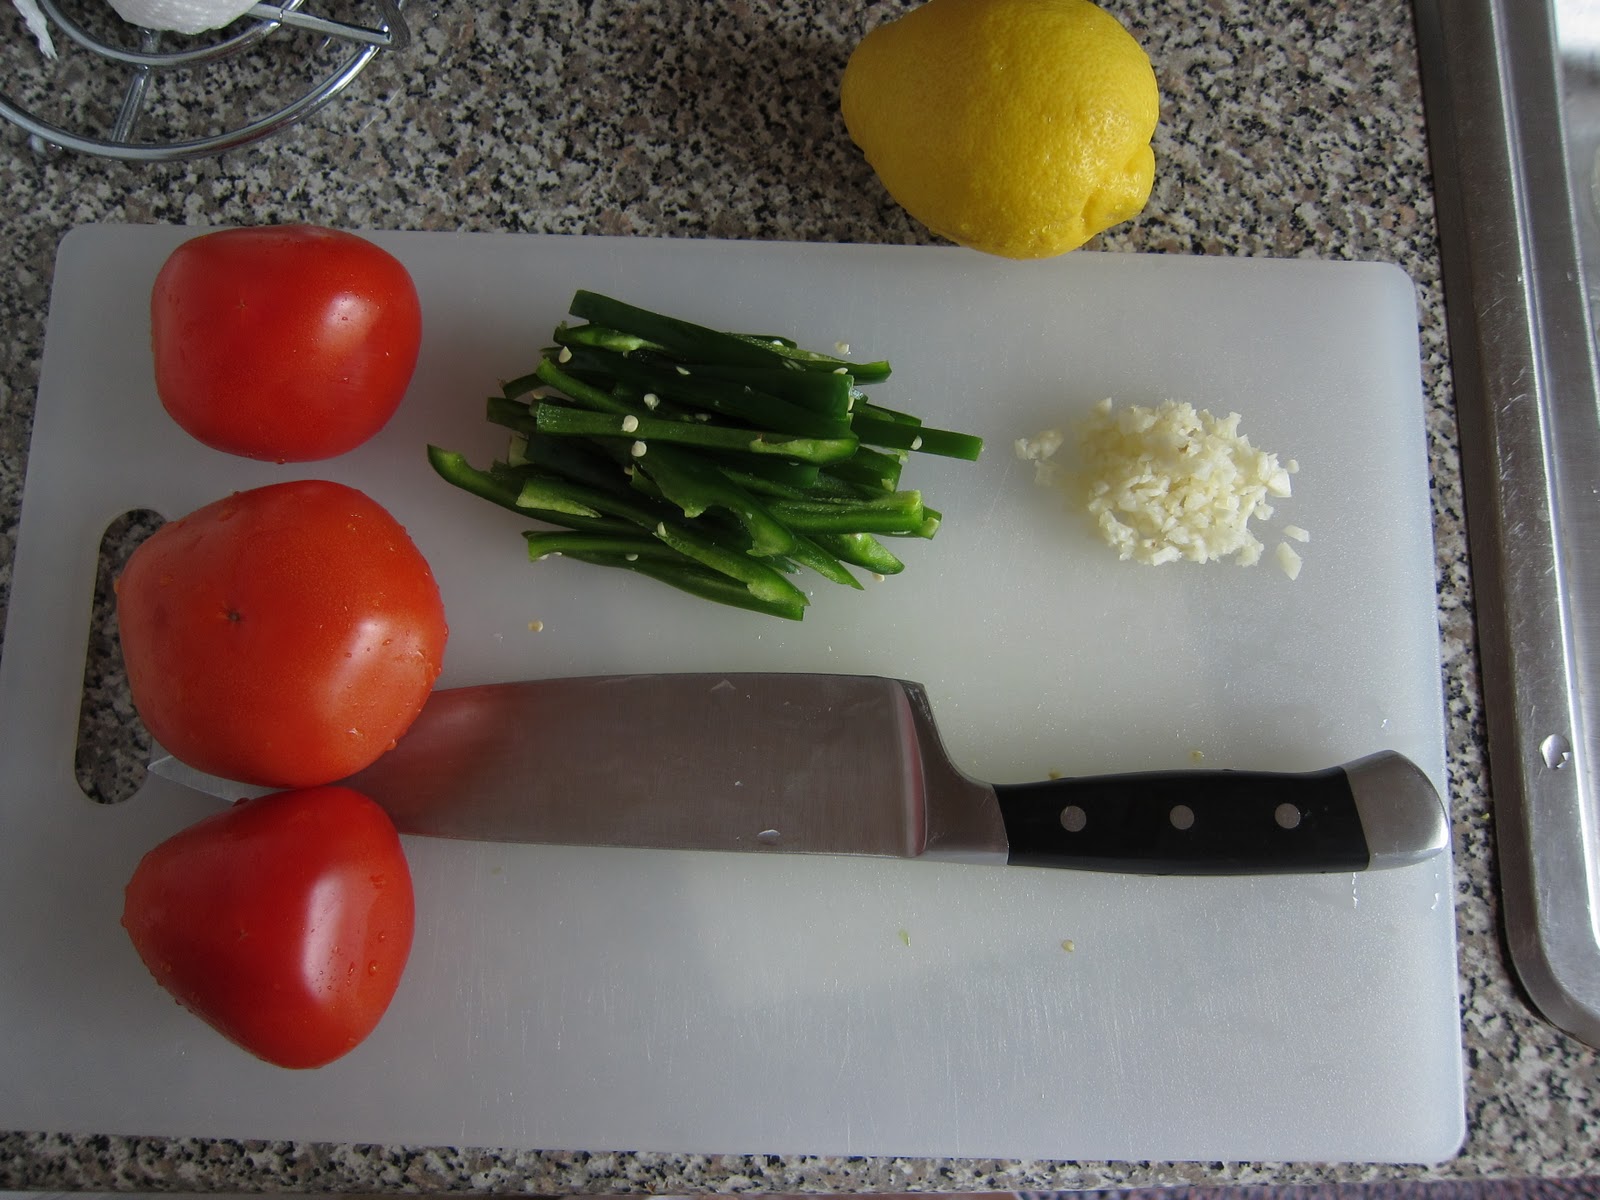
What should you do when life gives you a surplus of jalapeños?  Make some pesto!  What, you thought pesto was just for the Genovese?  Well think again!  It's time to expand your pesto horizons.

This recipe works great on a warm corn tortilla, with some grilled meat and chopped tomatoes.  It also works as a nice seasoning for ground meat, in rice, or even to spice up your grandma's chicken soup.  Plug in your food processor and give it a whirl!


Charred Garlic-Jalapeño Pesto with Queso Fresco (printable version)
Adapted from Grace Parisi's "Get Saucy"
(makes about 1 cup)

Note: If you can't find queso fresco, you can use farmer's cheese or feta as a substitute.

5 large green jalapeños
3 tablespoons vegetable oil
4 large garlic cloves, unpeeled
3 scallions, trimmed of root end
1/3 cup tightly packed fresh cilantro leaves
1/3 cup crumbled queso fresco
salt to taste


Heat a cast-iron skillet over medium heat until hot.  Rub the peppers with a small amount of the oil and add them to the skillet with the garlic and scallions and cook until softened and charred all over (about 15 minutes for the garlic and jalapeños and 5 minutes for the scallions).  Transfer the jalapeños to a bowl, cover with plastic wrap, and let cool.  Peel and seed the jalapeños and peel the garlic.

Transfer the jalapeños, garlic, and scallions to the bowl of a food processor and pulse until finely chopped.  With machine running, add the rest of the oil.  Add the cilantro and queso fresco and pulse until just combined.  Season with salt.  This will keep in an airtight container in the refrigerator up to 4 days.

Wednesday, March 30, 2011

Sourdough Odyssey

I've been on a bit of a bread roll (HA! sorry, that was cheap.) as of late, mainly inspired by a book that was given to me, The Bread Baker's Apprentice.  It's a pretty spectacularly comprehensive book, for anyone out there who's looking to start baking bread at home.  It can, however, at times be a bit too comprehensive, to the point of exhausting.  Which is why I turn, as I often do, back to the blogosphere (to the detriment of the printed word, unfortunately).  Web content is just so accessible and amorphous in a way that can be beneficial to the cook with a curious, rambling mind.

But let's stay on topic here: I'm making bread!  And it's such fun!  My most recent favorite blog for these endeavors has been Wild Yeast.  And for supplies and further recipe research, the King Arthur Flour website is indispensable. 

At first I aspired to make sourdough bread using only wild leavening - meaning, instead of prepackaged yeast, I would use a starter built up from just flour and water, left to ferment and "bloom" over a series of days and weeks.  I'm proud to say that I've built a rather ripe and potent starter over the past few weeks, and encourage you to do so as well.  How does one do that, you may ask?  The short answer is: mix 1 part flour to 1 part filtered water in a wide-mouth jar, let it sit out at room temp until bubbles form, and BLAM-O, you've got a starter.  The long answer can be found here.

Here's a glimpse at what a maturing starter looks like:
 

Funky, huh?

After the first frustrating attempts to make a delicious, springy sandwich loaf using my starter, I had a Eureka! moment and realized that a combination of wild and commercial yeast would serve me best.  Luckily, I found a fabulous recipe that fit the bill on the King Arthur Flour site, which is my new go-to when I need to satisfy my Daily Sandwich Requirement (DSR).  I made a few changes to the original recipe, but the gist remains the same.


Multigrain Sourdough Loaf  printable version
Adapted from the King Arthur Flour Multi-Grain Sourdough
(makes 1 large sandwich loaf)

1.5 cups boiling water
1 cup grain/seed blend (ex.: rolled oats, millet, quinoa, sunflower seeds, sesame seeds, poppy seeds, etc.)
2 cups sourdough starter, recently fed and ready to use (read: bubbly and happy)
2 cups KA whole wheat white flour
1.5 cups unbleached all-purpose flour
2.5 teaspoons salt
1.5 teaspoons instant yeast
2 tablespoons vegetable oil
Sesame seeds (or any other type of seed) for garnish (optional)
In a large mixing bowl, combine the grain/seed mixture and boiling water.  Let it cool to lukewarm.

Add the remaining ingredients and mix and knead - either by hand or with a mixer or food processor - until you have a soft, tacky but not sticky, dough.  Add additional flour or water as needed to get the right texture.
Cover the dough in the same bowl and let it rise until it's almost doubled, about 1 to 1.5 hours.
Turn the dough out onto a lightly greased surface and gently fold a few times to deflate.  Shape into a large round.  Place the dough into a large ovenproof enamel pot (I used my Le Creuset) that's been sprayed with non-stick baking spray and dusted with sesame seeds or cornmeal, and cover.  Alternately, you can place the dough on a sprayed sheet pan and cover with plastic wrap.  Let the loaf rise until it's puffy, another 1 to 1.5 hours.  When the dough is almost risen, preheat the oven to 450°F. 
Just before baking, brush with water  and sprinkle with the seeds (optional).  Use a sharp knife to score the top of the loaf in a crosshatch pattern.
Place the bread in the oven, lower to 425°F, and bake for 30 minutes covered (if using the pot) and another 15 minutes uncovered, until the loaf is golden brown and an instant-read thermometer inserted into the center reads 190°F.
Remove the bread from the oven and let it cool 5 minutes.  Then turn it out of the baking vessel and cool on a rack.

* Note: If your dough isn't rising nicely and it's making you really sad, don't dismay, just improvise!  I turned some wussy looking dough into nice little seeded flatbreads, see?  Just remember, your first loaf won't be your best loaf - and may not even be a loaf at all!

Wednesday, March 23, 2011

Lunchtime Fiesta

Today I awoke from a dream of Spring to a grey, rainy/snowy world.  Blegh!  So I'm bringing a little spicy fiesta into our lives. Oh sí!

I'm making Pollo a la Mexicana (chicken breasts with onion, tomato, and jalapeño) with some fried Mexican cheese (queso!).  

Start by slicing a large Spanish onion and cooking it over medium heat with some olive oil and salt in a large skillet.  While the onion sweats, mince 2 garlic cloves, and slice 3 jalapeños and 3 medium tomatoes.

 Once the onion is soft and translucent, add the garlic and cook 2 minutes.  Then add the tomatoes and jalapeños, a dash of cumin, a pinch more salt, stir, and cook over medium heat for 10 minutes.

While you're waiting for the vegetables to cook, quarter and slice a block of Mexican white cheese ("queso para freir") and cut a lemon into wedges.

Add 2 boneless, skinless chicken breasts to the pan, sprinkle with a pinch more salt, and cover.

Cook over medium-low heat for 15-20 minutes, until the chicken is tender and cooked through.

When the chicken is almost finished, preheat a small nonstick skillet over high heat.  Once hot, fry the cheese slices in small batches of four pieces, about 1 minute on each side.  If the pan gets too hot and the cheese starts to burn, lower the heat a bit.  Remove to a plate and cover to keep warm.

Serve the chicken with the sauce spooned over, with the fried cheese and some lemon wedges.  Avocado makes a nice addition as well!
Buen provecho!

Friday, March 18, 2011

Fastest, bestest flank steak

Despite what some might think about my mother, she does in fact cook, and cook well, when the occasion calls for it.  Like, for instance, when she was raising two hungry tween twins under one roof.  I recall there being a brief period, around the age of 13, when I passed my brother in height, and we together ate enough in one meal sitting to feed a family of 8.  Ah, those were the days.

My favorite hunger-curing (and, as it turns out, super-easy) dish that my mom prepared was flank steak, done to rosy perfection on the grill, then sliced across the grain and served with all that yummy, salty juice.  There are approximately a gazillion different ways you can marinate flank steak, but here's a way to prepare it that takes minimal time and effort, for which you are rewarded magnificently in satiety. 

Grilled or Broiled Flank Steak with Chimichurri (printable version)

(serves 3-4, unless anyone in the party happens to be a ravenous young adult)

Note: When checking your steak for doneness, be sure you allow for some carry-over cooking to happen after you remove the steak from the heat.  You could end up taking it off at perfectly rare and cutting into it at medium (*sad face*).

1 flank steak, about 1.5 pounds
salt and pepper

1 cup parsley leaves
1 medium shallot, quartered
3 garlic cloves, peeled
1 teaspoon red chili flakes
1/4 cup red wine vinegar
1/2 cup olive oil

Preheat your grill or broiler and make it very hot.  Generously shower salt all over both sides of the steak, and season with pepper too.  Grill or broil the steak for 3 to 4 minutes per side, until nicely browned.  Move the steak to a cooler part of the grill, or lower the broiling rack, and cook for another 2 minutes per side.  Check for doneness by making a small cut in the middle or using an instant-read thermometer - it should read 125°F for rare.  Remove to a large cutting board.

While you let the meat rest for 5 minutes, combine all the remaining ingredients in the bowl of a small food processor (or use a mortar and pestle, if you're feeling particularly hardcore) and combine into a rough paste.  Transfer to a bowl and season to taste with salt and pepper.

Slice the flank steak across the grain and serve with the chimichurri sauce.

(Please excuse the absence of photos - it was late, we were starving, and thus we inhaled the fruits of our labor before convening to document the evidence.)

Saturday, February 12, 2011

Quick Pear Crumble

Last night I made dinner and had a few people over to help me pre-celebrate my birthday (actual day is Tuesday the 15th).  I was really excited to be serving up a new braised short ribs recipe I'd come up with, and some really tasty kalamata olive-sage polenta fries -- so excited, in fact, that I forgot that no birthday bash would be complete without some vehicle for some drippy wax b-day candles.

The mission: to come up with a dessert that is easy, made up of ingredients I mostly already have stocked, and that you can hold a candle to (literally) - or 26 candles, to be precise!

The result: Melt-in-your-mouth success!  Pear crumble to the rescue...


Easy Pear-Ginger Crumble (printable version)

(serves 8)

Filling:
3 lb. pears, ripe but firm, peeled, cored and sliced
2 tablespoons lemon juice (about 1 half lemon)
1 tablespoon grated ginger
2 tablespoons maple syrup
1 1/2 tablespoon all-purpose flour

Crumble:
1/4 cup whole wheat flour
2/3 cup old-fashioned oats
1/2 cup brown sugar
2 teaspoons ground cinnamon
1/8 teaspoon salt
4 tablespoons cold butter
birthday candles (optional)

Preheat the oven to 375 degrees and lightly greasy a 9 by 13 in. baking dish (or some equivalent).  Combine the ingredients for the filling in a medium bowl, mix well, and pour into the baking dish.  Cover the surface with plastic wrap while you prepare the crumble so the pears don't turn brown.

In another bowl, combine the flour, oats, sugar, cinnamon, and salt.  Cut in the cold butter with a pastry blender, or two knives (or just your hands).  Combine until the butter is mixed in and resembles little pebbles.

Uncover the filling and cover the top completely with the crumble.  Bake in preheated oven for 40-50 minutes, until the topping is a golden brown and crunchy and the pears are soft and cooked through.  Serve warm or at room temperature, with vanilla ice cream or whipped cream on top.

Saturday, February 5, 2011

New Website

Hey folks - Just a brief update: I've launched my business website, it's at www.rosestreetkitchen.com.  Go check it out and feel free to comment on it here or send me a note through the "Contact" form on the site.  I'd love to hear what you think!

And happy Sunday!

Love,
Eve

Friday, February 4, 2011

Chicken in a sausage suit

Today I did it: I deboned a whole chicken (well, two whole chickens, in fact) a la Jacques Pepin, as seen on TV here.  And then, I stuffed them!  One with a spinach-mushroom mixture, sauteed with shallots, sprinkled with nutmeg and black pepper, and finished with marsala wine.  The other, which came out on top as the reigning champion of deliciousness, was full of sweet Italian pork sausage cooked with garlic, sage, smoked paprika, and a dash of chili flakes for heat.  Take a gander at my precious poulet:


I won't explain how I butchered the chicken (the butcher can do it for you, so don't sweat it - I'm just crazy), but I will divulge what I stuffed it with, because it was really something.


Chicken Ballantine with Sausage
(serves 4)

Note: If you ask the butcher to debone the chicken for you, this dish is a breeze to make on the fly.  If you don't, you'll work up a sweat, but you'll have something to brag about to your totally impressed dinner guests!

- 1 whole oven roaster chicken, cleaned and deboned
- 1/4 cup olive oil
- 3 sweet Italian sausages, casings removed
- 2 garlic cloves, minced
- 4 sage leaves, chopped
- 1/2 teaspoon smoked paprika (pimenton de la vera)
- 1/2 teaspoon red chili flakes
- 1/4 cup bread crumbs
- 1/4 cup grated pecorino romano
- 1 egg, lightly beaten
- salt and pepper to taste

Preheat the oven to 425.  Place the deboned chicken skin-side down on a large cutting board and season with salt and pepper. Set aside.

In a 12-inch saute pan, heat 2 tablespoons of the olive oil over medium-high heat and add the sausage.  Using a wooden spoon, break up the sausage as it browns.  Once no longer pink, add the garlic and sage.  Turn heat down to medium and cook 5 minutes.  Stir in the spices and transfer to a dry bowl. Let cool.

Add breadcrumbs, pecorino, and egg, and mix well.  Spoon three-quarters of the filling onto the center of the chicken and spread evenly across.  Stuff the remaining filling into the leg and wing cavities.  Carefully fold the leg and wing flesh carefully in towards the center, so that the chicken takes on its former, pre-boned shape.  Cross the leg flesh and gently flip the whole bird over, seam side down.  Tie the ankles together with kitchen twine, leaving a long length attached, and tie the bird as you would a roast, making successive loops until you reach the neck opening and flip the bird over again to do the same down the back.  Cut the twine, tie it off.  (If you are unsure how to do this, watch the video that I link to above.)

Place the tied chicken breast side up in a medium roasting pan.  Sprinkle the entire exterior with salt and pepper, and rub with the remaining 2 tablespoons of olive oil.  Roast in the oven, rotating half way through, for 45 minutes or until the juices run clear when cut.  Remove to a carving platter and let rest at least 10 minutes.  Cut into thick slices and serve warm, with its pan juices.

Saturday, January 22, 2011

A cow to remember

I'm not usually such a grateful, earth-mother type, but I need to take a moment to thank the cow whose rib meats we enjoyed last night.  You were delicious!  Moo-moo to you.

I didn't set out to be this ambitious, but as usual my stomach got a hold of my brain and the meal ended up being pretty epic:

Wonton Shrimp with Basil and Smoked Paprika
 (Thank goodness I had Lily there to help with the laborious deveining of the shrimpies)
 

Homemade Za'atar Flatbread 


 Braised Beef Short Ribs with Vanilla Glazed Carrots
 

The Lovely Looney Tunes, Lily & Lia


It really was a fabulous night.  Here's to great food and even better friends!

Tuesday, January 18, 2011

Woke up, it was a pancake morning...

Sunday morning is a time for sleeping in, staying in the PJ's, drinking too much coffee, and making delicious-beyond-belief-blow-your-mind breakfast!!!

Needless to say, this Sunday was delicious.  The menu: fluffier than air pancakes with maple-cinnamon yogurt topping (thanks go to Lily for this Swedish adaptation of the normal maple syrup topping) and oodles of medium roast Peruvian french press coffee.  The shameless eaters: myself, Dan, and Lily. (Side-note: LILY IS BACK AND WE ARE ALL VERY EXCITED, WOO!)


Behold:


Now make them:

Light and Fluffy Pancakes ( from Mark Bittman's recipe)
(makes 4 servings)
1 cup buttermilk
4 eggs, separated
1 cup all-purpose flour
Dash salt
1 tablespoon sugar
1/2 teaspoon baking soda
Butter as needed

Preheat a griddle or large skillet over medium low heat and start the batter: beat together the milk and egg yolks.  Mix the dry ingredients.  Beat the egg whites with a whisk or electric mixer (used my KitchenAid; thank you again, Nanc!!) until stiff but not dry.
Combine the dry ingredients and the buttermilk-yolk mixture, stirring to blend.  Gently fold in the beaten egg whites, only a little, so that they remain distinct within the batter.
Melt a pad of butter in the griddle or skillet and add the batter by the heaping spoonful (I used a small ladle), making sure to include some of the egg white in each spoonful.  Cook until lightly browned on the bottom, then turn and cook until the other side is brown.  Serve or hold in a 200 degree oven for up to 15 minutes.

Maple-Cinnamon Yogurt
(makes about 2 cups, enough for 4 servings of pancakes)

2 cups plain yogurt 
1/4 cup maple syrup, or to taste
1 tablespoon ground cinnamon, or to taste
pinch salt

Mix ingredients in a small bowl with a whisk until uniform.  Taste and adjust maple and cinnamon to your liking.  Generously spoon over hot pancakes.

Tuesday, January 11, 2011

Easy as Applesauce

For those of you who live  in the New York metropolitan area, or who frequent the farmer's market wherever you may dwell, perhaps you can sympathize with the flustered feeling I get when I'm wandering through the apple bins at the Union Square greenmarket and realizing I want to buy them all!  Each different apple variety I find, from the deep purple Winesap to the friendly green Mutzu, promises to pack the sweetest, juiciest, crispest punch.  What is an apple-obsessed girl to do?

Well, make applesauce, of course!  The best applesauce is, obviously, homemade, and is made from a variety of different apples of the sweetest variety (tart just doesn't work here, so steer clear of the Granny Smiths).  Using one kind of apple to make homemade applesauce results in a rather dull condiment, like a song comprised of a single note.  What we're looking for is more of a symphony of varying notes and tones.

So, next time you're faced with a moment of apple indecision, just grab one of each and head to the kitchen!

Simplest Applesauce
(printable recipe)
makes about one quart

Note: If you intend to make your applesauce with a potato masher, you'll need to first peel the apples before cooking them.

8 sweet apples, each a different variety
1 tablespoon ground cinnamon
1/2 cup water

To begin, cut each apple into four, through the core, and use a small paring knife to cut out the sliver of core from each slice.  Then cut each apple quarter in half, leaving you with eight pieces per apple.

Put the apple pieces into a large, thick-bottomed saucepan, add the cinnamon and water, and cook on medium-high heat, covered, until it comes to a boil.  Turn the heat down to low, remove the cover, and cook for another 20-30 minutes, stirring frequently, until a chunky sauce already begins to form.  Turn off the flame and proceed with one of the following three steps:

1) In small batches, transfer the apples carefully to the bowl of a food processor fitted with a metal blade, and process for a few seconds until completely smooth.
2) In small batches, run the apples through a hand-crank food mill into a large bowl underneath.  Discard the strained-out solids as you go.
3) Using a hand blender, blend the apples in the same pot until the sauce is completely smooth.

Enjoy immediately, as a snack, dessert, or alongside a meat entree such as pork chops.  Or, once cooled, store in airtight plastic containers, in the refrigerator for up to 2 weeks, or in indefinitely in the freezer.