Friday, December 24, 2010

Out with the old...

...and in with the new!  Hope you're all having a wonderful holiday week with family and friends.  I'm already thinking ahead to the New Year, and looking back on 2010 fondly.  I just wanted to share with you a new tradition (hello, oxymoron) in our home: Christmas shakshuka!  After I made a batch of mint pesto yesterday, and discovered I had a nearly full box of tomatoes in my fridge, I realized I had the makings of a very hearty, festive dish.  Enjoy and happy merry everything!

Christmas Shakshuka
(printable recipe)
(serves 2-3)
 
For the pesto:
2 cups fresh mint leaves
1 garlic clove
1/4 cup toasted pistachios
1/4 cup olive oil (plus more as needed)

Put all the ingredients in the bowl of a food processor and mix well, scraping down the sides as needed.  If the pesto seems too thick, drizzle in more olive oil with the motor running.  Remove to a bowl and salt to taste.

For the shakshuka:
2 tablespoons olive oil
1 Spanish onion, sliced thinly
1 teaspoon paprika
1/2 cup white wine
2 cups chopped tomatoes (I like the Italian brand Pomi)
1/2 teaspoon red pepper flakes
6 eggs
crumbled feta (optional)

In a large skillet, heat the olive oil over medium heat.  Add the onion and paprika and stir to coat well with the oil.  Cook uncovered, stirring occasionally, for 30 minutes, until the onions are lightly caramelized.  Turn heat to medium-high and add the white wine, scraping the browned onion up from the pan and stirring until almost completely evaporated.  Add the tomatoes and red pepper flakes, stir to combine, turn heat the medium-low, and cook covered for 15 minutes to allow the tomatoes to break down into a sauce.  Uncover and carefully crack each egg into a different spot on top of the tomato sauce.  Cover again and cook until the whites are completely set and the yolks are cooked to your liking (I like my yolks pretty set, so I let them go about 8 minutes).  Serve the eggs together with the thickened tomato sauce underneath, drizzled with the mint pesto and topped with feta, if using.  Eat with a thick slice of toast to soak up all the juices.

Sunday, December 19, 2010

Christmas is a cookie

I'm not a huge cookie person, nor am I much of a holiday enthusiast, but these soft and chewy molasses cookies, reminiscent of gingerbread house disasters of yore, really hit the spot!  I used a modified version of a recipe found in the recent NY Times holiday cookie feature, substituting butter for the called-for shortening, because I'm that kinda girl.  These are especially delicious warm out of the oven, with a glass of cold milk, and some requisite Christmas Sinatra crooning in the background.


Holiday Molasses Crinkles (printable recipe)
(makes about 30 cookies)

1/2 cup (1 stick) unsalted butter, softened to room temp.
1 cup granulated sugar
1 egg
1/2 cup molasses
2 cups all-purpose flour
2 teaspoons baking soda
2 teaspoons ground ginger
1 teaspoon ground cinnamon
1/2 teaspoon ground cloves
1/4 teaspoon salt

Preheat the oven to 350 and line a baking sheet with parchment paper or a Silpat, if you have one.
With an electric mixer, beat together the butter and sugar in a large bowl.  Next mix in the egg and molasses.   In a separate bowl, sift together the remaining dry ingredients and blend well.  Gradually add the dry ingredients to the molasses-butter mixture, mixing with a spatula until entirely uniform.  Cover and refrigerate for 30 minutes.

Using a small ice cream scoop or a tablespoon measure, lay out small balls of cookie dough 2 inches apart on the baking sheet.  Dip the scoop or spoon into hot water in between scoops to make it easier.  You should be able to fit about a dozen cookies on the sheet at a time, meaning you'll do 3 batches (or use 3 separate baking sheets).

Bake the cookies for 12 minutes, remove from the oven, and allow to settle on the tray for a few minutes before transferring to a cooling rack.  Enjoy immediately, or store in an airtight container for later enjoyment!

Friday, December 10, 2010

Homemade nooks & crannies!

Last night I got antsy, couldn't sit still, couldn't just enjoy the night off and curl up on the sofa with a good book, so what did I do?  Well, what I always do: I made some food!  The ants-in-the-pants cure ended up being whole wheat bread dough, which this morning became beautifully light and fluffy English muffins!

If you have a food processor, making bread dough is a simple and magical undertaking.  If not, it's no big deal, it will just require some patience as you knead the ingredients together by hand.  I like Mark Bittman's recipe for Sandwich Bread, from his classic tome, How to Cook Everything.  


Whole Wheat English Muffins (printable recipe)
yield: 12 muffins
2 cups unbleached all-purpose flour, plus more for dusting
1 and 1/2 cups whole wheat flour
2 teaspoons salt
1 and 1/2 teaspoons instant yeast
2 tablespoons honey
2 tablespoons unsalted butter, softened, plus more for greasing the bowl
1 and 1/2 cups cool milk

Place the flour in the bowl of your food processor fitted with the steel blade.  Add salt and yeast and process for a few seconds.  While machine is running, add the honey, butter, and most of the milk through the feed tube.  Process about 30 seconds, then remove cover to see if the dough is a well-defined, barely sticky, and easy-to-handle ball.  If it's too dry, add milk a tablespoon at a time and process for another 5 to 10 seconds.  Remove dough from the food processor bowl and knead by hand for a minute or so on a well-floured surface. (I do my kneading on a baking sheet so as to minimize the mess!)

Grease a large bowl and shape the dough into a rough ball.  Place in the bowl, cover with plastic wrap or a damp towel, and let rise for at least 2 hours, preferably overnight, until it's almost doubled in size.  Deflate the ball and shape it again into a nice round.  Let it rest on a lightly floured surface (baking sheet) for about 15 minutes, covered.

Next, cut the dough into 12 equal pieces with a bench scraper or a knife.  Dust your hands with flour and shape each piece of dough into a 3- to 4-inch disk.  Dust with flour and let rise for 30 to 45 minutes, until puffed up.

Preheat a griddle or large skillet over low heat for 10 minutes; do not oil it.  Sprinkle it with cornmeal and "bake" the muffins, a few at a time, on both sides, turning occasionally, until lightly browned, for a total of 15 minutes.  Cool on a rack and split with a fork before toasting.  Serve with a liberal smear of butter and perhaps a scant dusting of sea salt.


Wednesday, December 1, 2010

I'm (almost) famous

And now for a quick commercial break: follow this link to check out a CBS piece about Astor Bake Shop, where I'm the part-time cook.  Look closely and you'll see yours truly (just my hands, mostly), and all the yummy food I made for Chef George McKirdy's interview.  The desserts displayed were not my creations, but they are also delicious and well worth a trip out to Astor Bake Shop, if you're ever in my lovely neighborhood of Astoria!

Monday, November 29, 2010

Happy (post-)Thanksgiving!

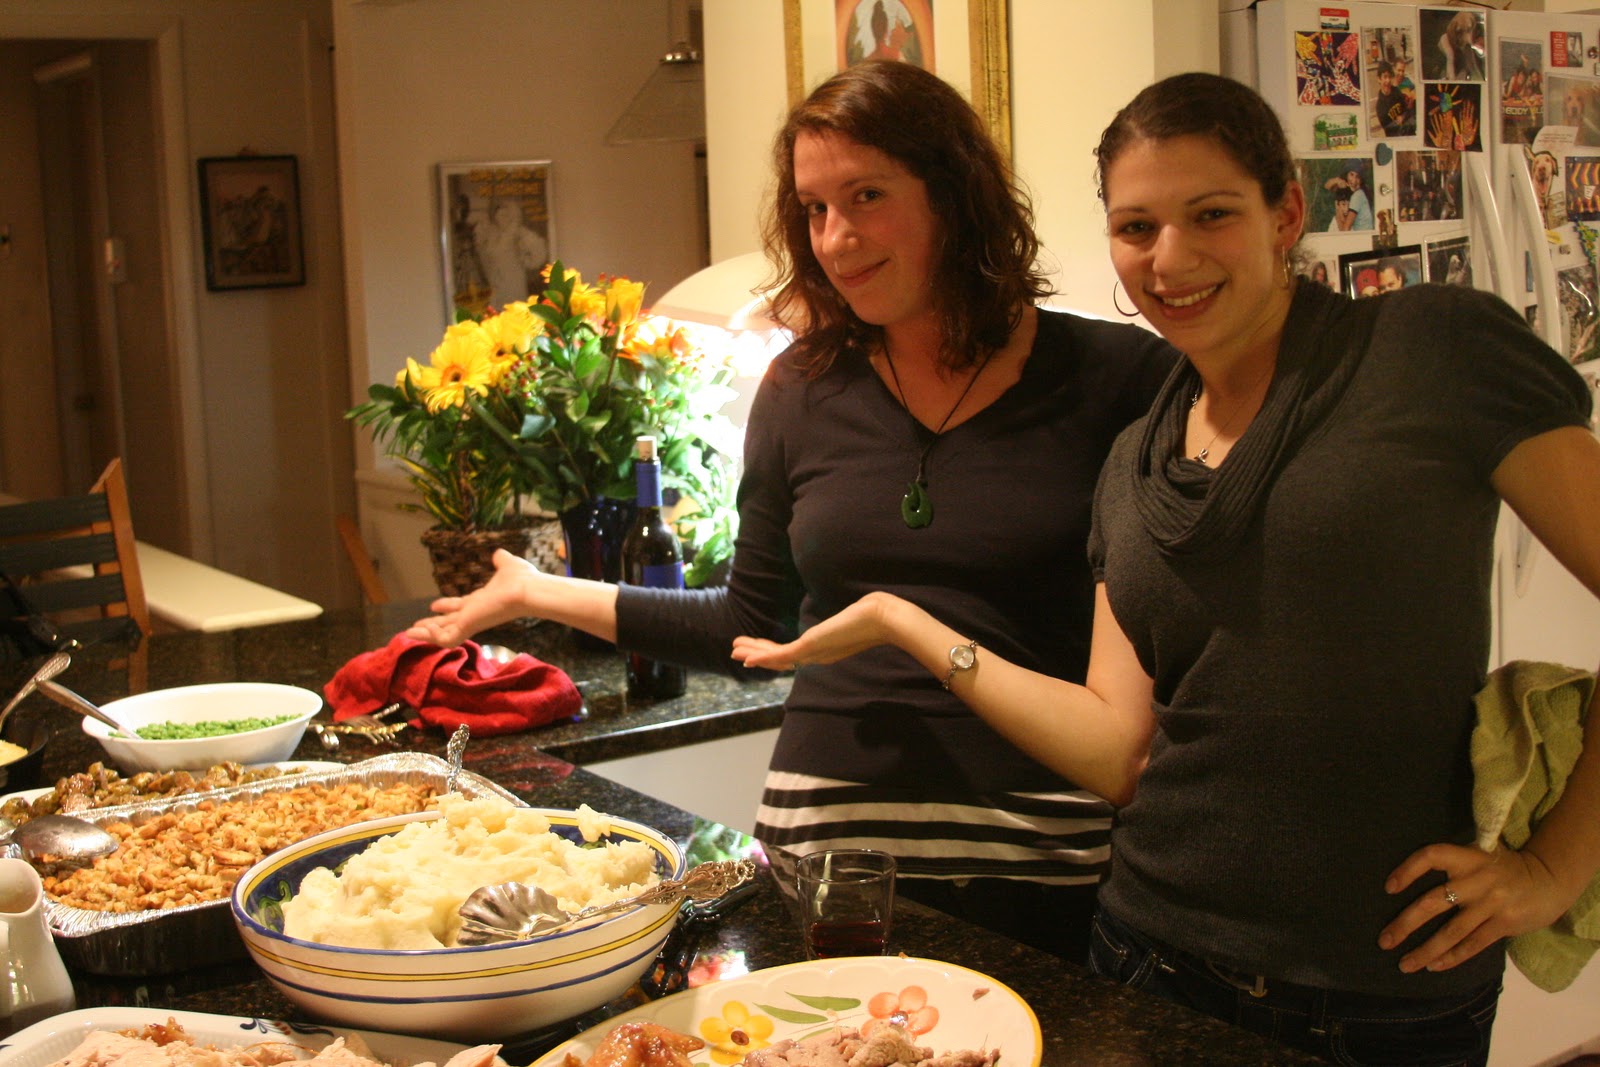
Hello all!  Hope your Thanksgiving '10 was as rowdy and entertaining as mine.  All the usual suspects were present (turkey, stuffing, mashed potatoes, cranberry sauce, etc.) as well as abundantly flowing wine and reams of laughter and typical family shenanigans.  Not to mention pie!  (Didn't even get a shot of that, but trust me, it was shameful.)

How was your Thanksgiving??

 myself and the bro, harassing the turkey


me and my cousin, Kate, showing off the goods

Lupi the dog, rov(er)ing for snacks

put a fork in us: we're done!

Monday, November 22, 2010

Carrots 'R' Us

Two topics to discuss today: toys and carrots.  

Regarding the former, I spent all morning questing after the perfect holiday gifts for my 5 nephews and nieces, and I now declare the toy store officially closed until next year -- phew!  

And as for the latter, my refrigerator scavenger hunt unearthed precious few ingredients for a quick and healthy lunch, so what did I eat?  Roasted carrots!  Surprisingly satisfying, and what in the world else was I going to do with that half-used bag of leftover dirt candy?


Simple Roast Carrots
(serves 2 as side dish)
Note: While this recipe calls for carrots, you can use up many other kinds of leftover vegetables in this manner.  Is your crisper drawer housing an abundance of aging zucchini, or peppers, or even tomatoes?  Are you denying that your fridge smells like the inside of a compost bin?  Just blast those buggers in the oven with some olive oil and salt, and stop throwing out your unused veggies!

5 medium carrots, peeled and sliced
3 cloves garlic, peeled and minced  
2 tablespoons extra virgin olive oil
1/2 tablespoon salt
1 teaspoon ground cumin
1/2 teaspoon ground ginger
pinch cayenne (optional)

1. Preheat oven to 425 degrees F.

2. In a medium glass casserole, toss the carrots and garlic and drizzle with enough olive oil to coat.  Sprinkle with salt, cumin, ginger, and cayenne (if using) and mix well. 

3. Roast for 30 to 40 minutes, checking every 15 or so minutes to shake up the pan and ensure that garlic does not burn.

Sunday, November 14, 2010

I (heart) Hot Chocolate

Just in case my earlier entry highlighting my love of vegetables led you to think I'm some sort of a health nut, think again: I'm a raging chocoholic.  And I love love love hot chocolate, especially when the weather starts to turn cold.  I grew up in a Swiss Miss household, with the occasional cup of Ovaltine thrown in when I visited Grandma, so I didn't discover that hot chocolate came from anything but dry mix packets until I lived in Spain for a year, where I made it a habit of ending a long night of bar-hopping at the Chocolatería San Ginés in Madrid.  This place serves deeply satisfying cups of thick dark hot chocolate with perfectly warm and crunchy churros (the Spanish donut).  Needless to say, I was hooked (and I subsequently gained a few pounds).

Now I'm back, I've lost the weight, but I still indulge in the occasional homemade hot chocolate.  It's easier than you'd think to make a perfect cup at home, and if you live in New York, you'll appreciate not having to spend $5 or more for the privilege.  Here's my secret recipe...


The Most Delicious Hot Chocolate Recipe
(yield: 1 quart)

Ingredients:
- 4 cups milk
- 1 vanilla bean, split and scraped (or 1/4 teaspoon vanilla extract)
- 1 teaspoon ground cinnamon
- 1/4 teaspoon cayenne (optional)
- pinch of salt
- 5 ounces good quality dark chocolate pieces (I used 60% Ghirardelli chocolate chips)

Method:
In a medium saucepan, heat the milk, vanilla bean (if using), cinnamon, cayenne (if using) and salt over medium heat just until steaming, not boiling. 

Turn off the heat and remove the vanilla pod halves, if using.  Add the chocolate chips or pieces (if you start with a whole chocolate bar, the best method is to grate it as you would a piece of cheese using a box grater.  The small and even pieces will melt quickly and uniformly).  Stir with a whisk until the chocolate is completely melted, leaving no visible pieces.  Add the vanilla extract, if you haven't used the vanilla bean.  Pour into a container and cool completely before storing, covered, in the refrigerator for up to two weeks.

Sometimes you just feel like a veggie

You might think a cook would live a decadently delicious life full of daily home-cooked meals, but the truth is that the working chef survives on hastily prepared dishes like oatmeal, scrambled eggs, PB&J, and a thick stack of take-out menus.  Sad but true.
Given the busy week I had, I crashed into my Sunday off with a booming, resounding hunger for fruits and vegetables!  Holy guacamole!  So I hit up the vegetable aisle of my local grocery and came home to make the yummiest sandwich of all:

 Poised between two toasted slices of 7-grain bread - each properly slathered with Dijon mustard and butter, respectively - were slices of golden delicious apple, avocado, pepperjack cheese, radicchio, and red onion.

 
Whoa mama, this really hit the spot!

Thursday, November 11, 2010

A Smattering of Things Unseen

I regret to have to tell you, dear readers, that I've been holding out.  I've made food these past few months that I have devoured greedily without sharing one measly morsel with you all.  Please forgive me; but sometimes it's between doing the dishes and writing an entry - and the dishes usually prevail (thank you, mild OCD).  To make up for this, I'm delivering a montage of Dinners Past.  I hope you enjoy the following images, albeit belatedly...

  
Cream of tomato soup with sherry, and radicchio garnish

 
 Almond biscotti for John's fundraiser

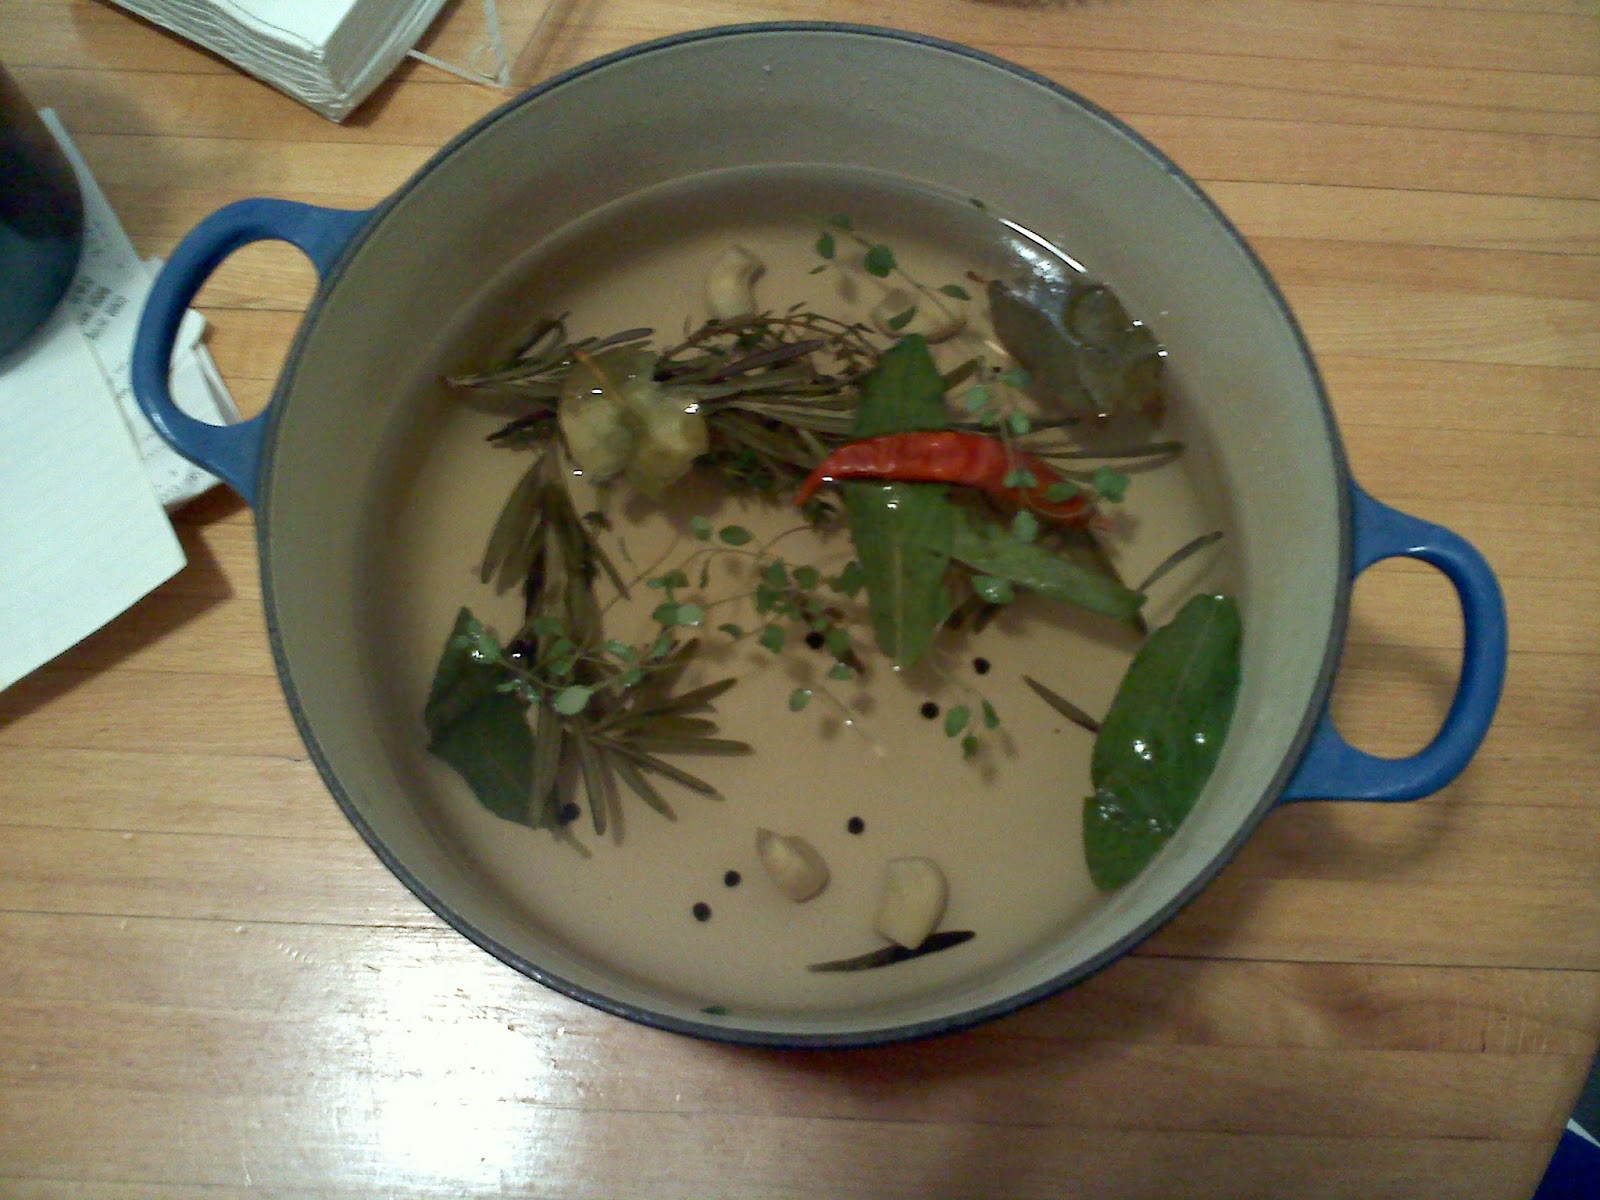
  Brine for pork...

 ...and said pork (thank you Rustico Cooking for this delicious recipe!)

 Black beluga lentil hummus on pita toast with white sesame seeds @ John's event

 Sonoma chicken salad in endive cups @ John's event

 More from John's event.  On the right are my "caprese pops": tomato-mozzarella skewers with basil!  Check out my friend John's dance company, John J Zullo Dance - amazing!

Okay, definitely not food.  But isn't he cute enough to eat??  Meet my mom's new puppy, Crosby.


Friday, November 5, 2010

When life gives you leftover rice, make rice balls!

In my opinion, there are two types of cooks: the kind that follow recipes to the letter and produce flawless food every time, and the kind that employ their creativity (and hopefully common sense) to draw outside the lines of recipes and invent completely new dishes in the process.  I consider myself among the latter category.  I'm not one to abide by the rules of a recipe (BO-ring!).  

So, since I choose to cook in this flexible way, I often find it easy to make use of my leftovers.  "And here I am!" says the newborn rice ball.


 This is less of a formal recipe and more of a guideline that goes as follows:
- For each cup of leftover rice (or other grain - I also had whole wheat berries) mix in one beaten egg.
- Add spices, herbs, seasoning, or a whole other leftover dish - I added black lentil hummus here.
- Preheat your oven to 425 degrees F and line a baking sheet with parchment paper.  Oil lightly.
- Form one-tablespoon sized balls of rice mixture with your hands and space out evenly on the baking sheet.  You should be able to fit 5 rows of 6, for a total of 30 rice balls.
- Bake for about 20 minutes, longer if needed, making sure each rice ball is golden and crispy on the outside.  Remove to a serving dish and enjoy as a low-cost, highly-tasty appetizer!